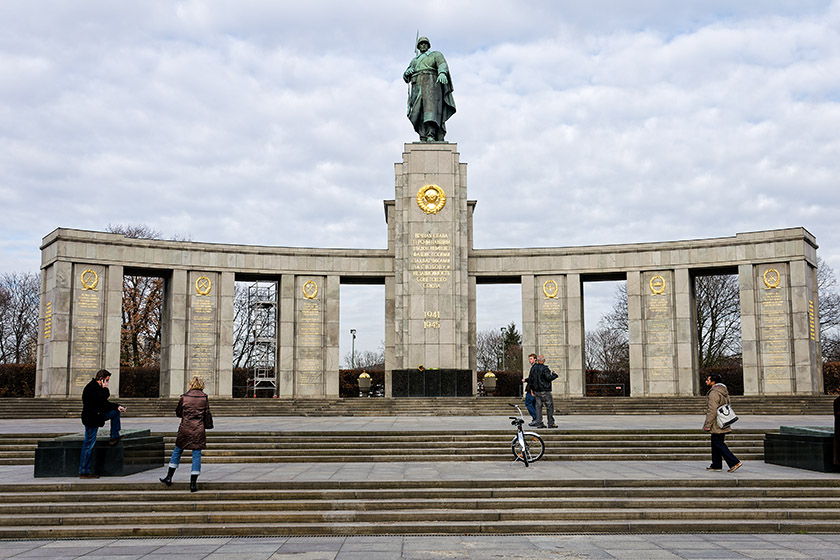
Berlin, Germany, Soviet Memorial, 39mm (unmodified)
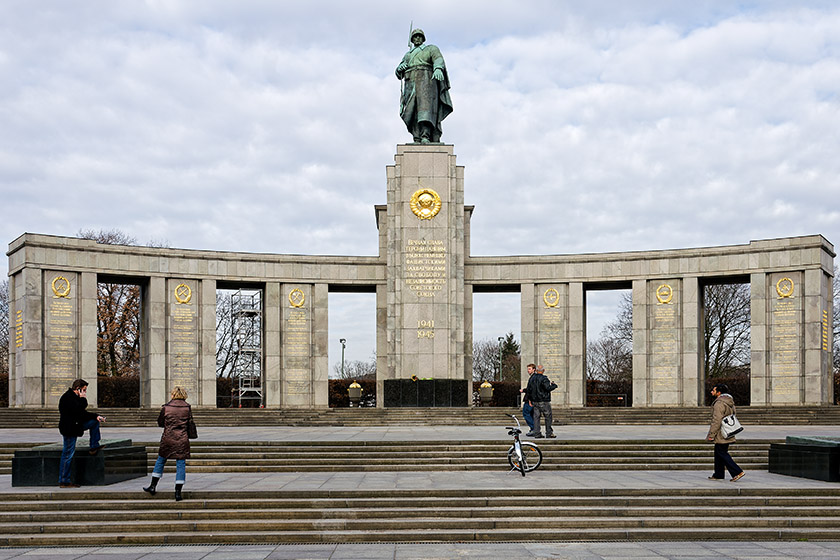
Berlin, Germany, Soviet Memorial, 39mm (corrected)
We have all taken pictures where the horizon line is not perfectly level, and many of us will fix this in post processing: it is easily accomplished, and the photo will look much better for it. However, there are countless other cases where lines can and should be straightened. For example, taking photos of subjects which require the camera to be tilted upwards causes the vertical lines to be tilted inwards, thus giving the impression that the subject is leaning backwards. Let's look at an example:

|

|
Berlin, Germany, Soviet Memorial, 39mm (unmodified) |
Berlin, Germany, Soviet Memorial, 39mm (corrected) |
Clicking on one of the thumbnails will display it as a larger (2400x1600 pixel) image, and the differences between the original and the corrected versions will be more apparent. Note that the focal length (in full frame equivalence) of the lens used to take the photo is shown in the caption. In this first example. we can see how the sides of the memorial turn inwards in the unmodified version; somewhat harder to see, but nevertheless apparent, is how the monument seems to lean backwards. The corrected version eliminates both these anomalies. Admittedly, this is a very simple example. Let's look at a couple of photos that are a bit more complicated to correct.
|
|
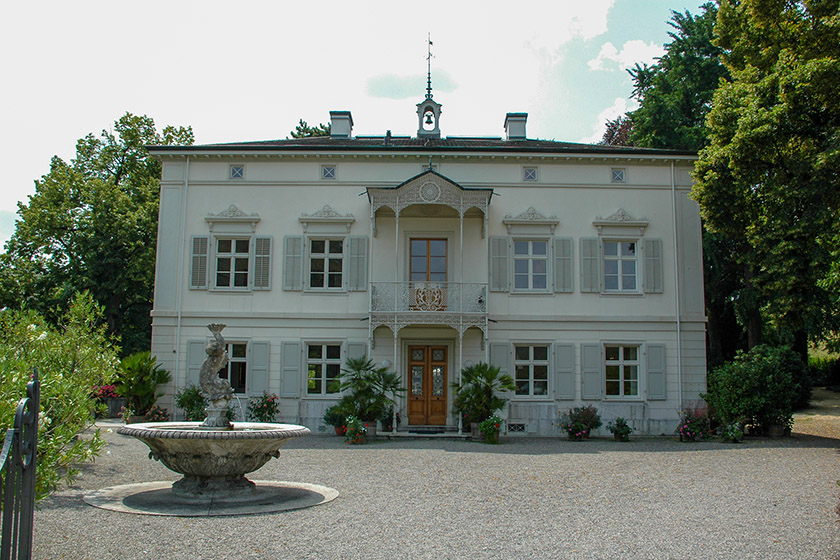
Münchenstein, Switzerland, Villa Merian, 33mm (unmodified) |
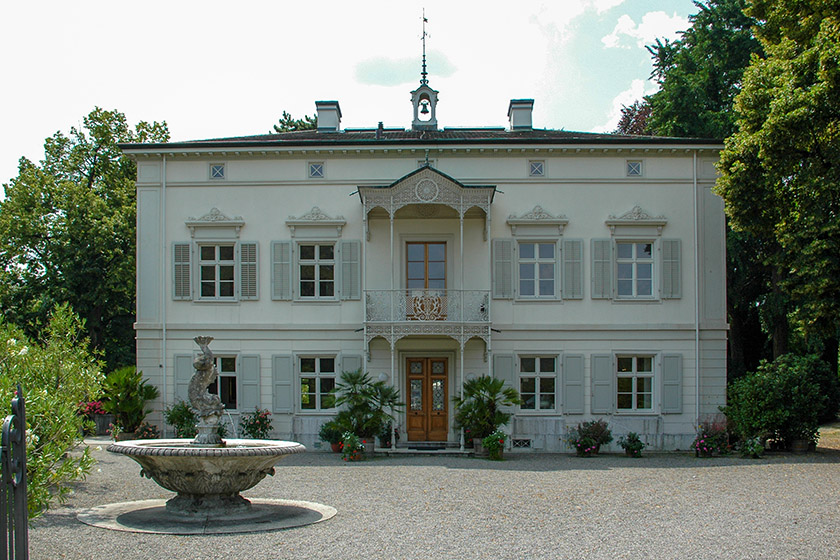
Münchenstein, Switzerland, Villa Merian, 33mm (corrected) |
|
|
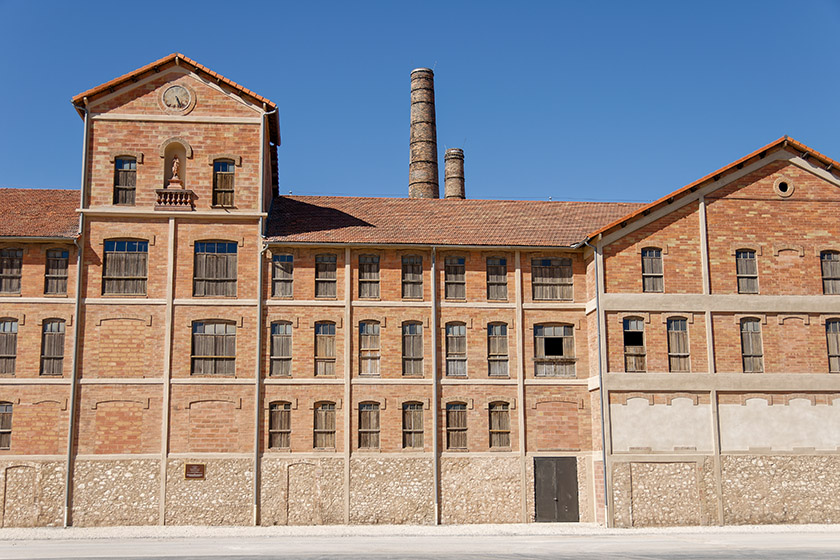
Aix-en-Provence, France, Camp des Milles, 40mm (unmodified) |
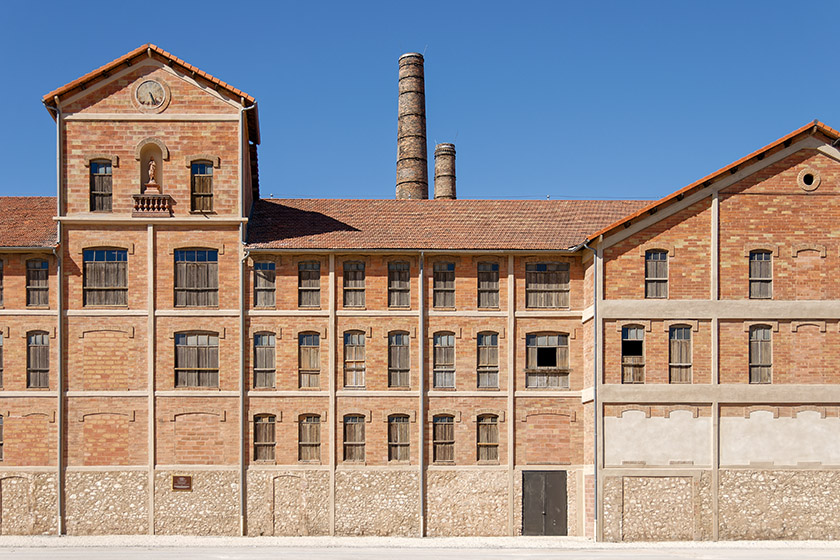
Aix-en-Provence, France, Camp des Milles, 40mm (corrected) |
As mentioned above, the most common reason for subjects appearing to tilt backwards and vertical lines leaning inwards is shooting with the camera pointed upwards, and the shorter the focal length of the lens, in other words the wider the viewing angle, the more pronounced the distortion is. If in addition the camera is not level, horizontal lines will be distorted as well. This is the case in the two photos above.
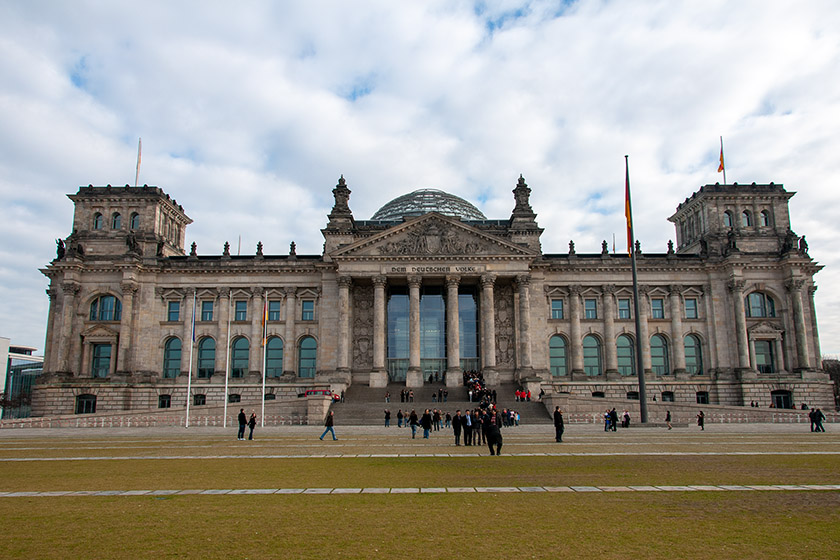
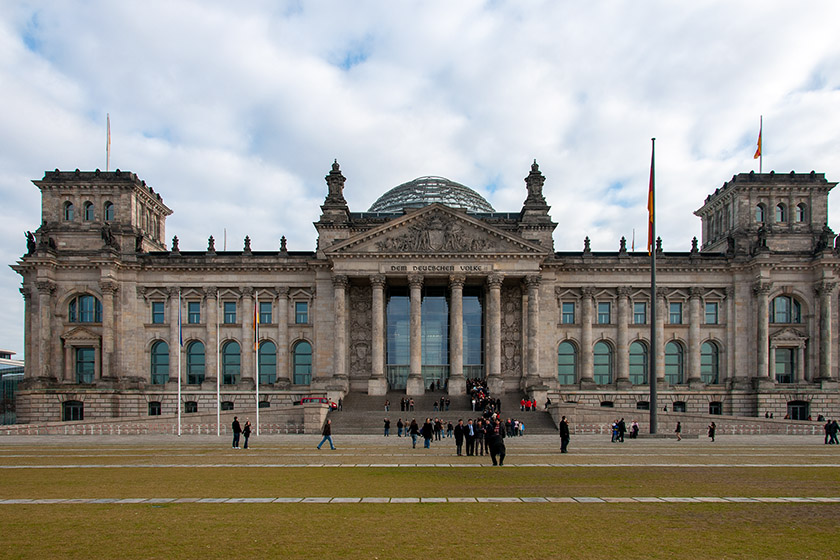
When straightening vertical lines, more space to the left and right of the subject is usually required, something that is especially visible in the first photo above. If the photo was cropped too tightly when it was taken, part of the image may be cut off when vertical lines are straightened. When this happens, it is necessary to extend the picture area on the side that is being cut off. Not all photo editing applications have this capability; in Photoshop, we can use "Generative Expand" or "Content-Aware Fill" to extend the image. In Luminar Neo, it is called "GenExpand", and in ON1 Photo Raw we can use the "Content-Aware Crop" feature. Here is what the result might look like:
|
|
Berlin, Germany, Reichstag, 27mm (unmodified) |
Berlin, Germany, Reichstag, 27mm (corrected, but cut off on right) |
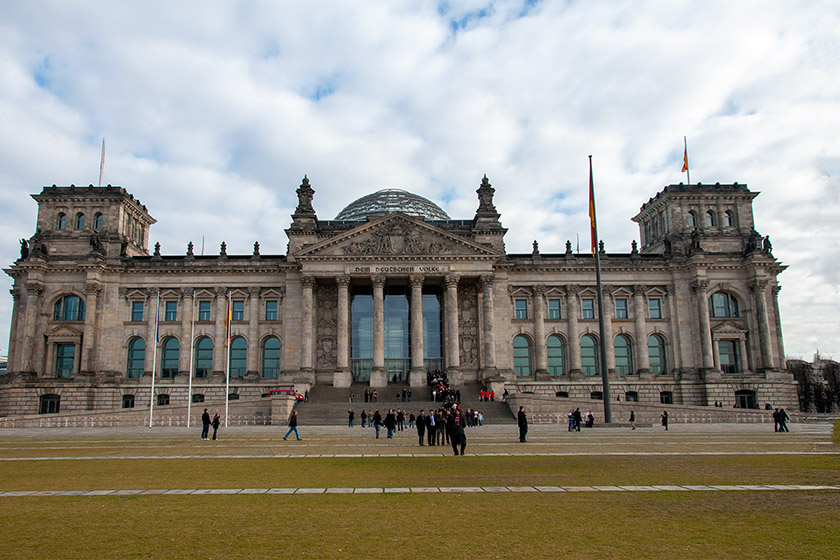
|
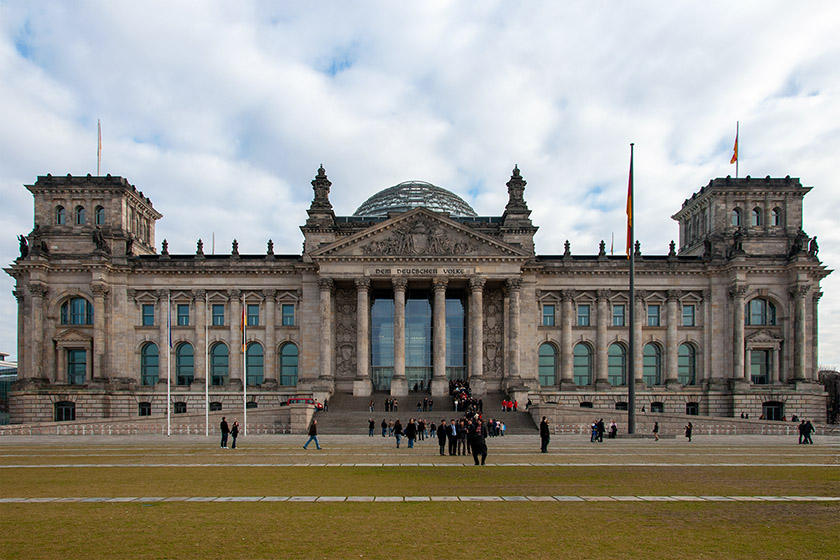
|
Berlin, Germany, Reichstag, 27mm (original with right side extended |
Berlin, Germany, Reichstag, 27mm (corrected) |
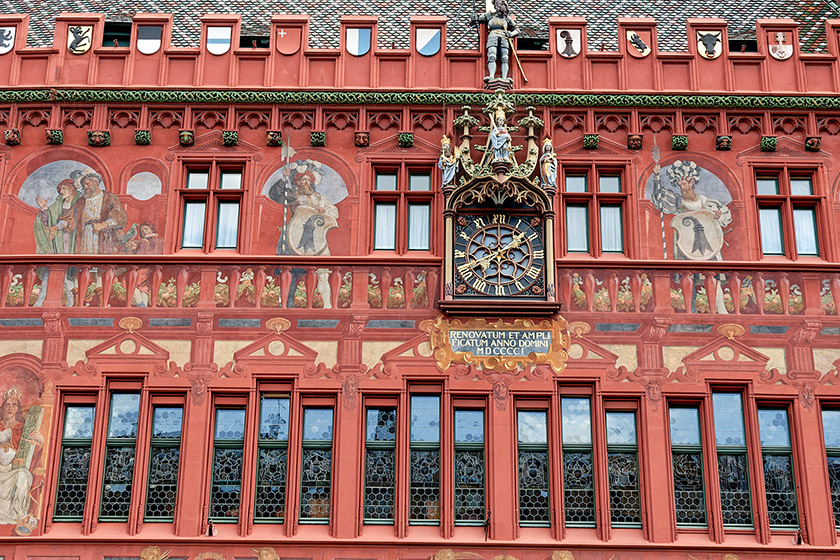
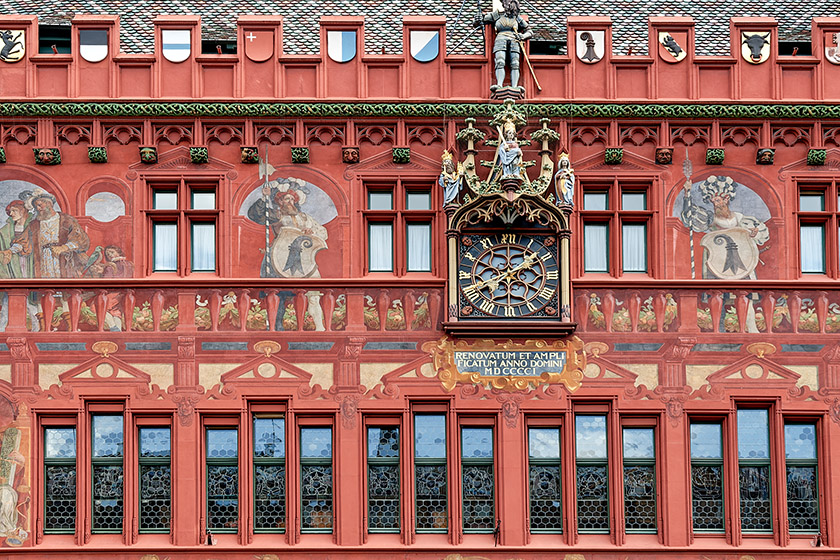
Distortions do not only occur with wide angle lenses. Ideally speaking, the film or the sensor of the camera should be exactly parallel to the plane one is photographing, but obviously that cannot always be the case. The camera may be aimed up or down, left or right, or rotated around an imaginary axis that goes through the center of the lens. Any of these movements can be combined with one or two of the others, which can make corrections complicated. In my opinion, the result should look natural, even if not everything is perfectly straight. Here is an example of a photo where it was necessary to correct both vertical and horizontal lines:
|
|
Basel, Switzerland, City Hall, 57mm (unmodified) |
Basel, Switzerland, City Hall, 57mm (corrected) |
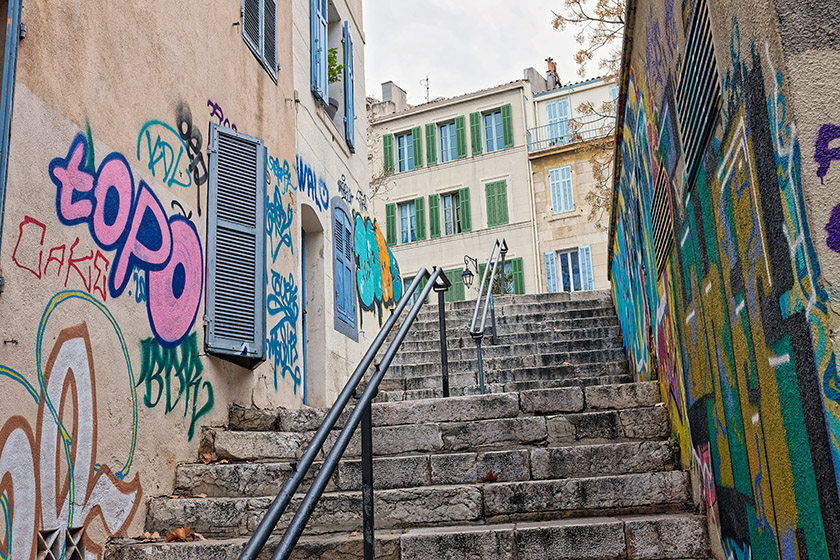
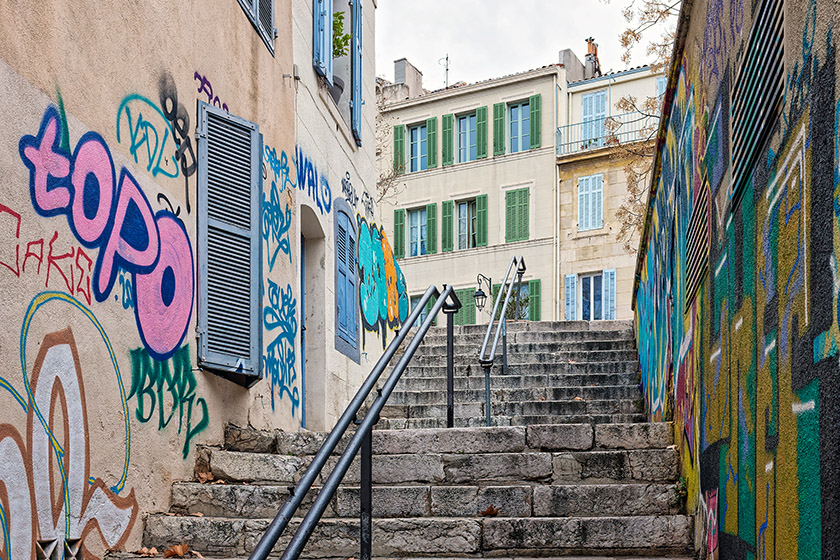
Corrections are not only necessary when taking pictures of buildings: even in normal cityscapes we can see different kinds of lines that should be straightened, especially when the camera is pointed upwards while taking the photo. In the example below, the horizontal lines of the steps were corrected simply by straightening the vertical lines of the buildings, so only one correction had to be applied.
|
|
Marseille, France, Steps to the Place des Moulins, 35mm (unmodified) |
Marseille, France, Steps to the Place des Moulins, 35mm (corrected) |
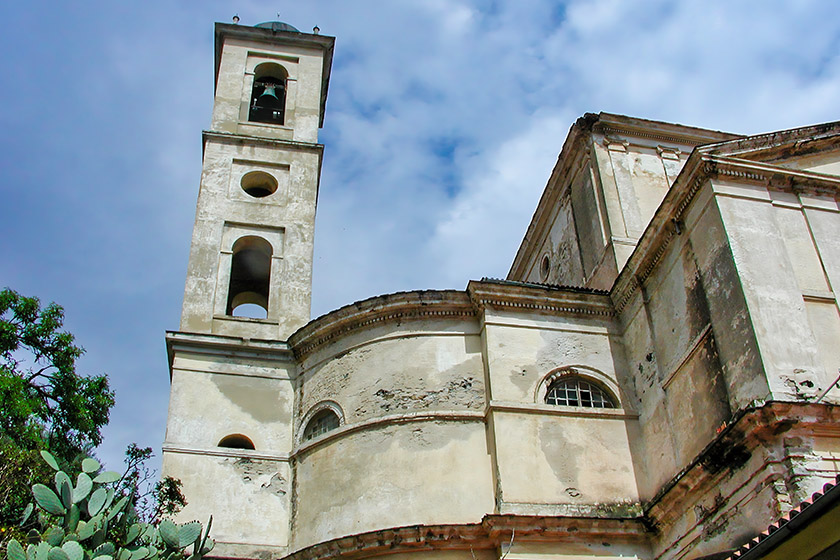
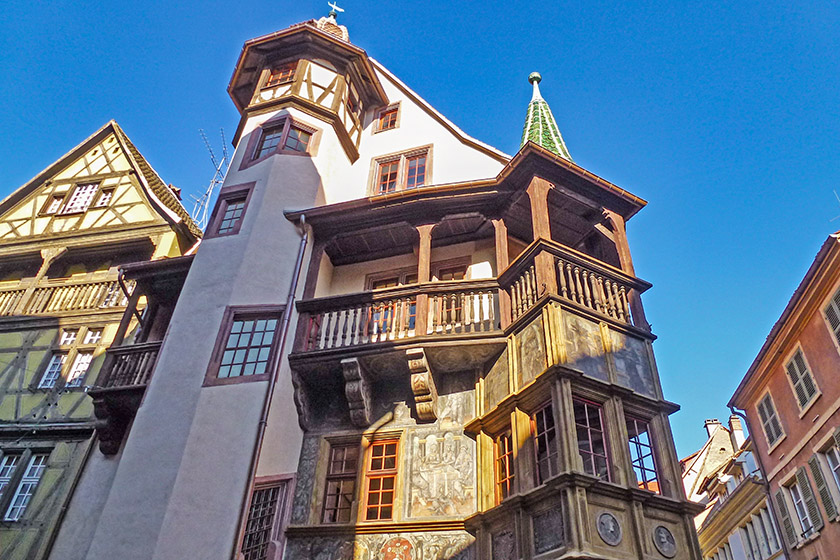
It is easy to get carried away and straighten lines that should be left untouched. Diagonal lines that are part of the composition should usually not be straightened, and neither should one attempt to straighten lines that deviate from the vertical or horizontal by a considerable degree because the result would look unnatural. Here are two examples where no straightening at all should be attempted:
|
|
L'Île Rousse, Corsica, Church of Immaculate Conception, 35mm |
Colmar, France, Pfister House, 25mm |
In architectural photography, the fact that vertical lines converge is called Keystone effect. It is relatively easy to correct as long as it is not too pronounced. Learning how to compensate for the distortion caused by the camera sensor not being parallel to the picture plane is a valuable skill that is well worth acquiring. Almost all photo editors provide tools to correct horizontal and vertical distortions, though the methods vary considerably. I consider that DxO's ViewPoint 4, used either from within their PhotoLab product or as a standalone application, is the most capable software tool to control all possible distortions, but obviously Adobe Photoshop, ON1 Photo Raw, and many other applications have similar tools in various degrees of complexity and sophistication.
Home | Site Info | Family | The Area | Trips | France | Work | Rants | Photography | Odds & Ends
This page was last modified on February 1, 2024
Send feedback about this page to feedback@kiechle.com
https://www.kiechle.com/photography/straighten/index.htm
(optimized for Retina display)
All contents © 1999-2026 The Kiechles