Film Simulations on the Fujifilm X-T30
As I briefly mentioned on my page on Downsizing, one cannot merely chose to shoot in JPEG on the Fujifilm X-T30 (and, indeed, on any Fujifilm X-Series
camera). Instead, one must choose to shoot with a particular JPEG film simulation. These simulations attempt to emulate the look of a particular film. One of seven color or two black and white films simulations may be
selected; for each of the two monochrome simulations, it is possible to add a yellow, red, or green filter. Finally, there is a Sepia simulation for that antique photograph look.
The purpose of the simulations is to provide good images with minimum or no post-processing. Depending on the subject, the differences between simulations may not always be obvious when looking at small
images. In the table below, clicking on any thumbnail will open the corresponding JPEG image in full resolution (6,240 x 4,160). This should permit to evaluate the results. All JPEG conversions were made from the same
raw file in Capture One Express Fujifilm. It's a free download and does a better job than Adobe Camera Raw, which discards many raw
file settings during the conversion. Other than selecting a simulation, no adjustments at all were made, so these results can be considered out-of-camera images. There is an even better way to convert Fujifilm raw
images; more about that below.
|
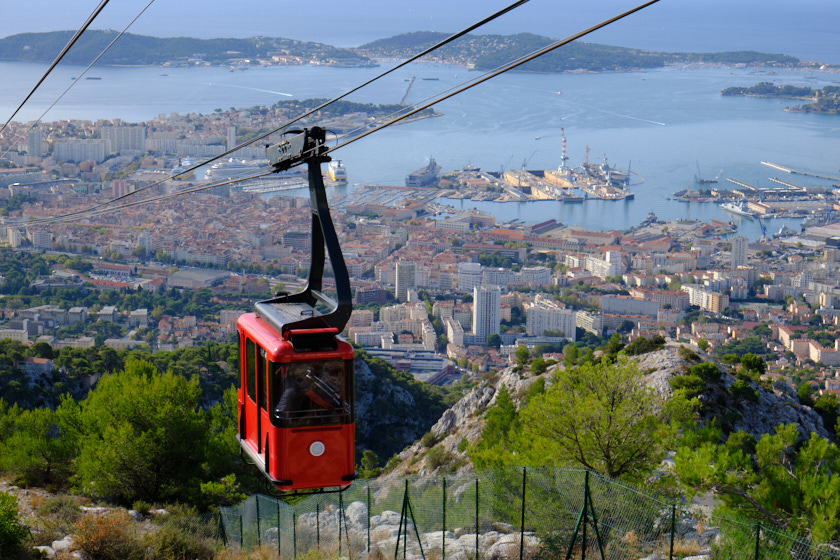
Provia
Provia is the default film simulation. It emulates the medium-speed (ISO 100) Fujichrome Provia 100 daylight-type slide film. The film was used in a wide variety of situations and offered ultrafine
grain, rich tone reproduction, average contrast, and mildly saturated colors. This extremely versatile simulation is great for landscapes and portraits; it is your go-to setting for most of your JPEG shooting needs.
|
|
Velvia
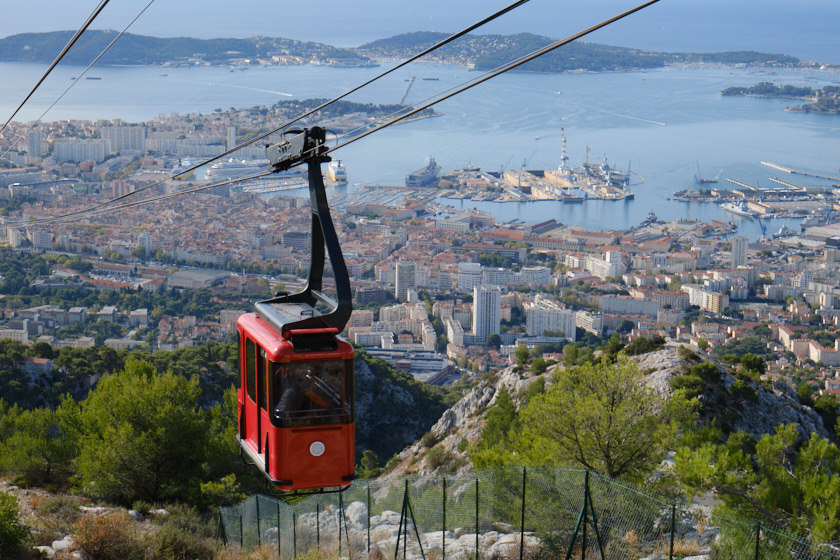
In 1991, Fujifilm released the low-speed (ISO 50) daylight-type slide film Velvia (for Velvet Media). It features highly saturated colors, high contrast, and excellent sharpness. It
quickly became a favorite of many landscape photographers. It is, however, not great in overcast weather, a problem when one loads one roll of film into a camera at a time. As a simulation, though, it is perfect
as one can choose it for scenes it is most suited for.
|
|
Astia
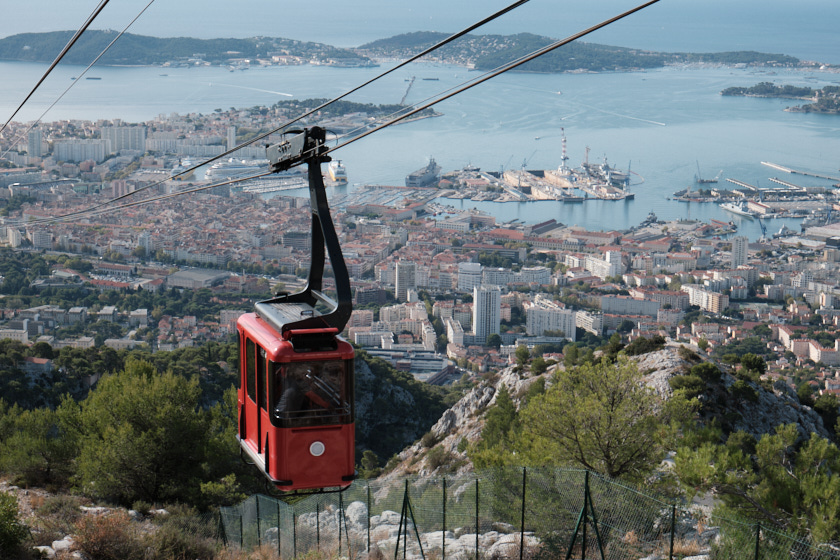
Emulating medium-speed (ISO 100) daylight-type slide film Fujichrome Astia 100F, this simulation has softer colors than Provia and excels at skintone rendering. It is therefore an ideal choice for
portraits, but thanks to its extremely fine grain, it is also excellent for indoor and product photography. It is a perfect choice in high contrast situation or on cloudy days when Velvia can become far too contrasty.
|
|
Classic Chrome
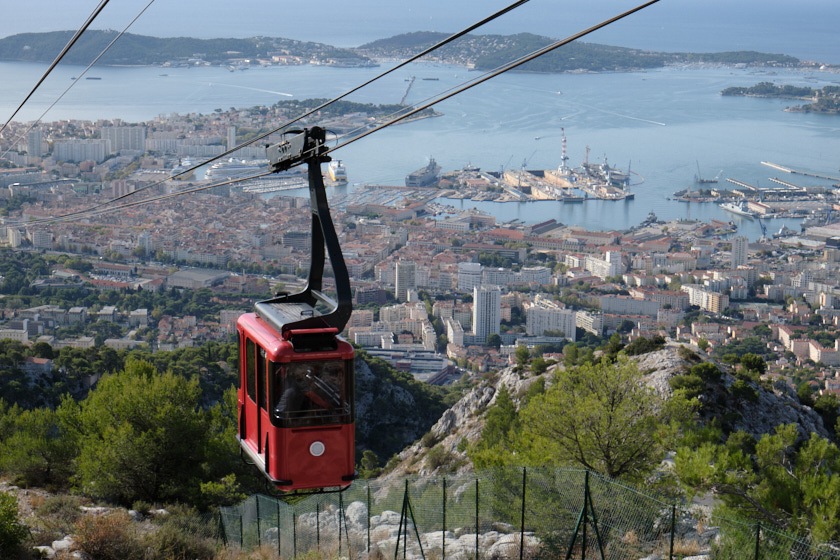
You won't hear this from Fujifilm for obvious reasons, but Classic Chrome is meant to emulate Kodachrome, my slide film of choice before I went digital. I prefer its soft, muted colors to the (to me)
over-saturated Velvia. Of course, the Kodachrome film I used was very slow (ISO 25), but with this simulation, I can enjoy the muted look of Kodachrome at higher ISO settings.
|
|
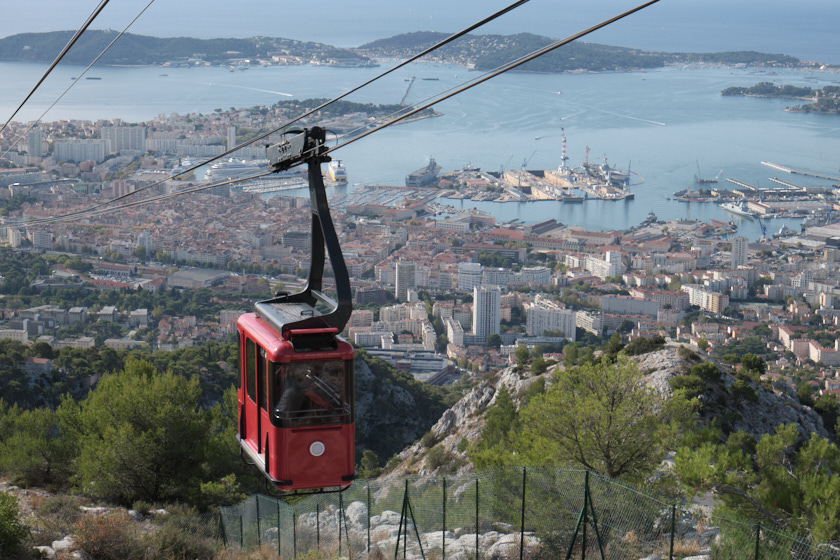
Pro Neg. HI
The next two simulations emulate the daylight-type NPS 160 Pro print film. This was a popular choice for wedding and portrait photographers; it had a speed of ISO 160 and featured smooth, natural
rendition of skin tones, extremely fine grain, rich gradation, optimal gray balance, and high sharpness. Contrast was minimal and the colors were muted. The film was also a favorite of street photographers.
|
|
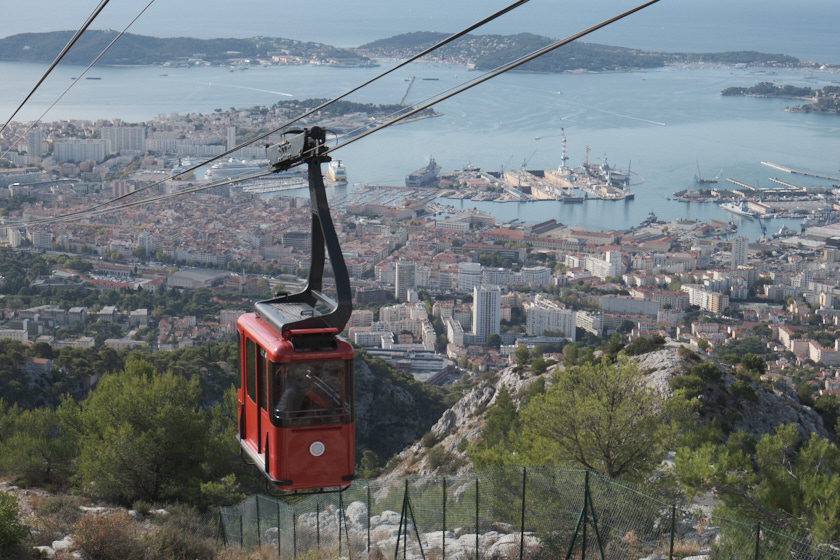
Pro Neg. STD
This is nearly the same as the preceding simulation. Tonality is slightly lower, the image a bit flatter, contrast minimal, and skin tones are enhanced. This and the previous simulation share
a comparable interpretation of color, situated somewhere between the unsaturated look of Classic Chrome and the natural appearance of Provia. The result is comparable to that obtained by shooting with Kodak
Portra film.
|
|
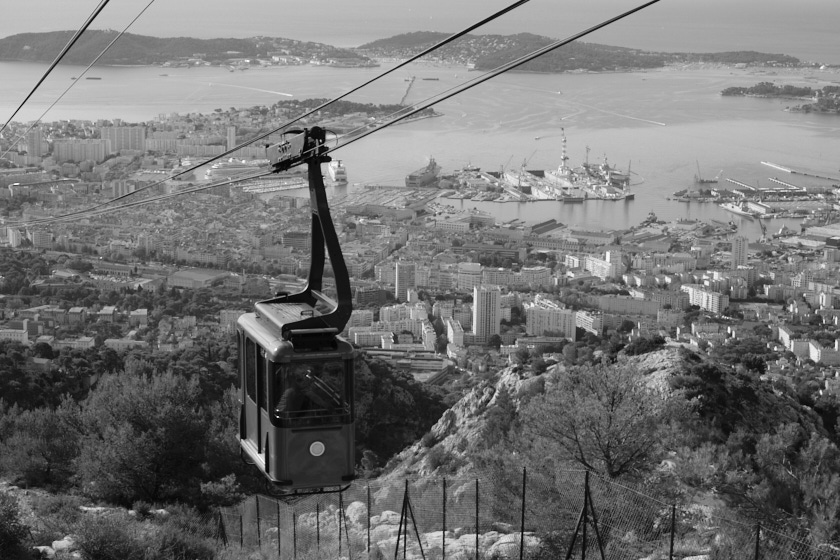
Eterna Cinema
This simulation emulates the Fujifilm Eterna Cinema motion picture film. With the lowest contrast and color saturation of all simulations, it gives videos that cinematic look, but of course, the
simulation is perfectly usable for still images. The overall look then resembles an even more muted Pro Neg. STD (though, like all simulations, it may be tweaked, for example to boost color and contrast a bit).
|
|
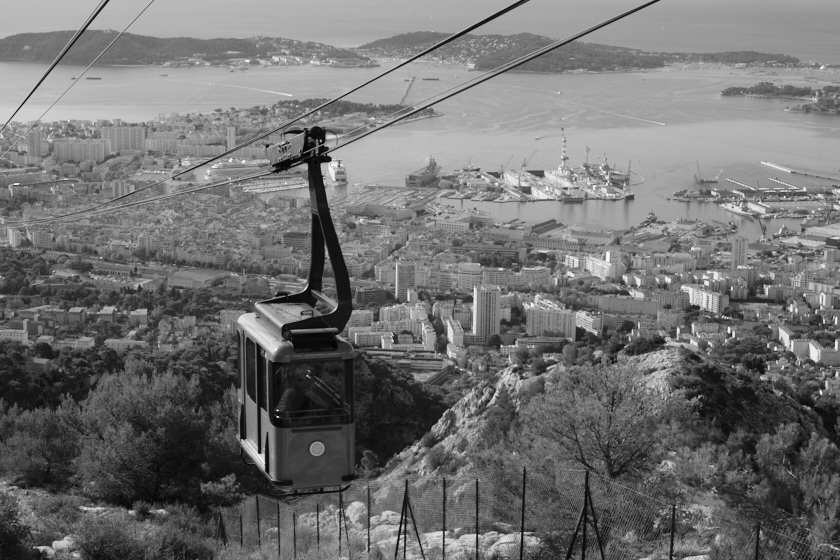
Acros
Acros emulates the Fujifilm Neopan 100 Acros medium speed (ISO 100), ultra-high-image quality black and white negative film. It has a very complex grain structure that requires extensive processing;
for this reason, it is only available in recent cameras. This simulation is capable of holding details in both highlights and shadows. At higher ISO values the grain becomes more pronounced and film-like.
|
|
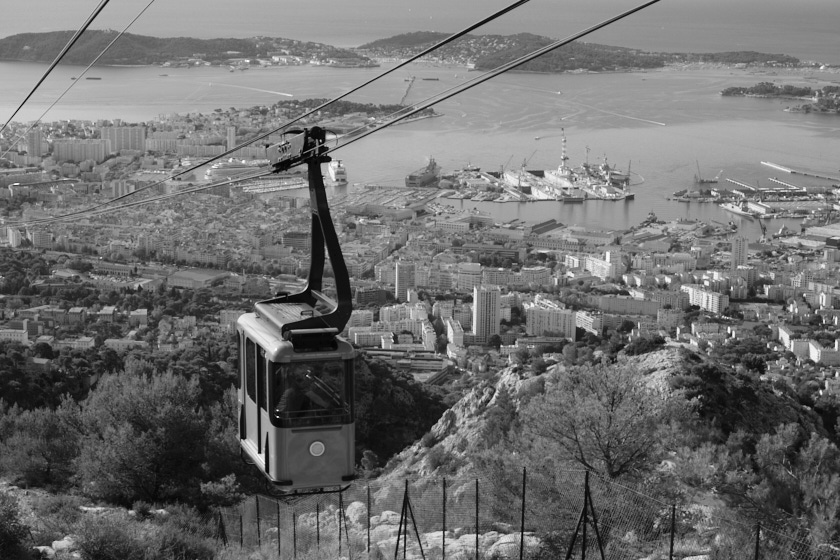
Acros + yellow filter
This simulation adds a yellow filter to the standard Acros simulation. Yellow filters are the most subtle of all the color filters used in black and white photography. They absorb all colors except
yellow, so they slightly darken blue skies and purple objects while brightening green, red, orange, and yellow. Yellow filters are frequently used in portrait photography as they make skin tones appear more natural.
|
|
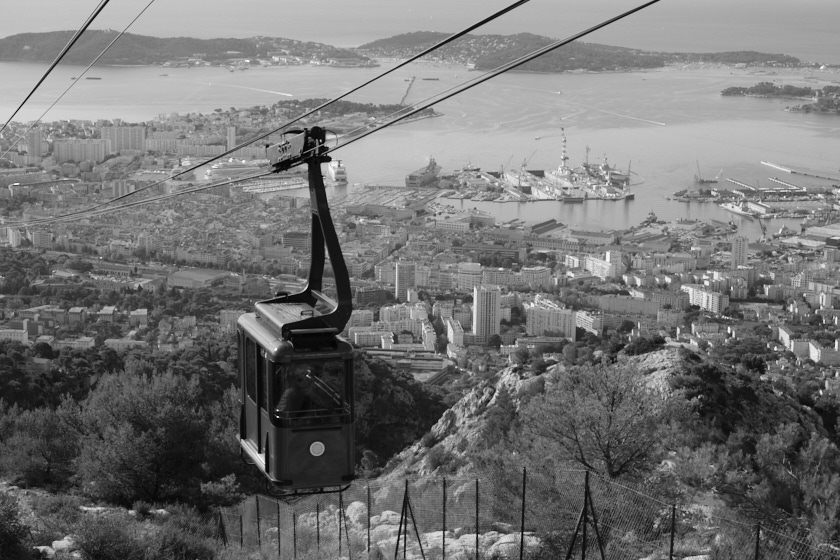
Acros + red filter
This simulation adds a red filter to the standard Acros simulation. Red filters are the least subtle of all the color filters used in black and white photography. They absorb all colors except red,
so they dramatically darken blue skies. They also improve tonal differences between flowers and foliage in nature photography and help penetrate haze and fog under difficult atmospheric conditions.
|
|
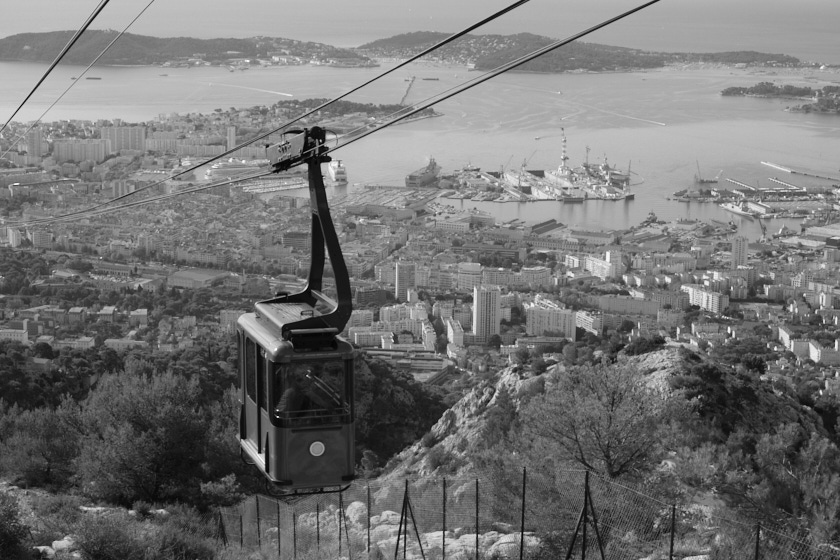
Acros + green filter
This simulation adds a green filter to the standard Acros simulation. Green filters are not used as often as yellow and red filters, but they are extremely helpful when taking pictures of landscapes
with leaves of slightly different hues. They lighten green foliage which often appears too dark when photographed without a filter. Green filters give a lighter, more natural look to certain landscapes.
|
|
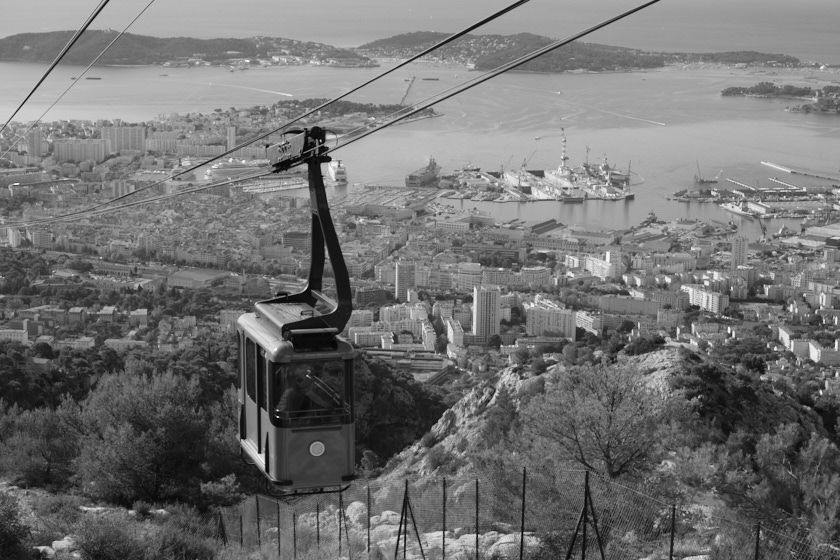
Monochrome
This is the original Fujifilm black and white simulation, and it is found in all Fujifilm Series X cameras. It does not have the rich tonality of the Acros simulation, nor the same film-like grain
when pushed to ISO 3200, but it is still a highly usable simulation that produces very attractive images. When one does not have a camera with the Acros simulation, Monochrome is a very useful alternative.
|
|
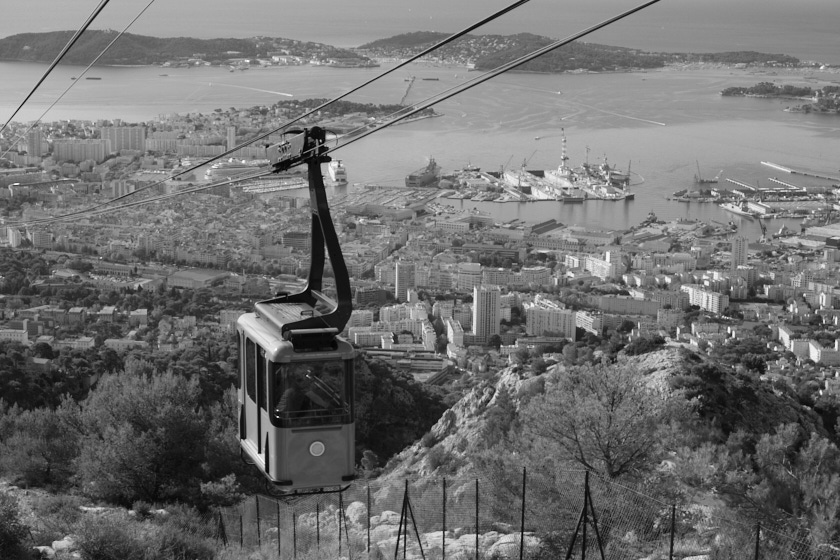
Monochrome + yellow filter
This simulation adds a yellow filter to the standard Monochrome simulation. Yellow filters are the most subtle of all the color filters used in black and white photography. They absorb all colors except
yellow, so they slightly darken blue skies and purple objects while brightening green, red, orange, and yellow. Yellow filters are frequently used in portrait photography as they make skin tones appear more natural.
|
|
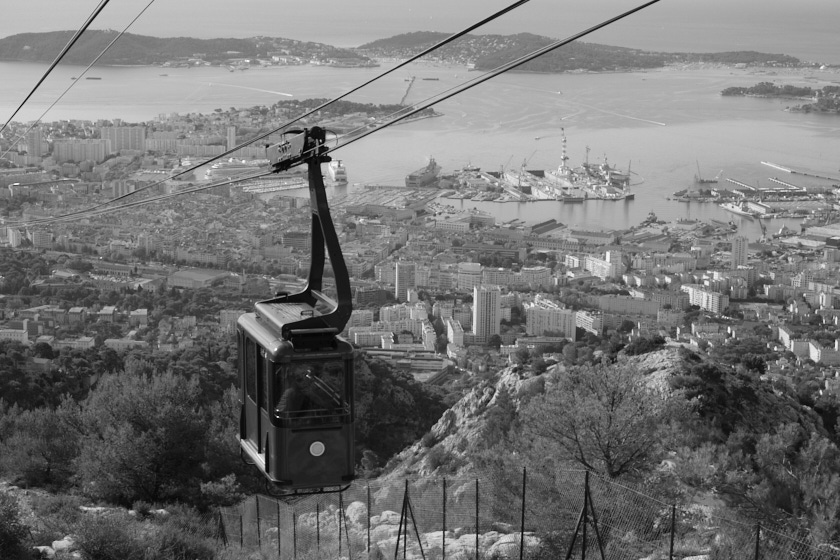
Monochrome + red filter
This simulation adds a red filter to the standard Monochrome simulation. Red filters are the least subtle of all the color filters used in black and white photography. They absorb all colors except
red, so they dramatically darken blue skies. They also improve tonal differences between flowers and foliage in nature photography and help penetrate haze and fog under difficult atmospheric conditions.
|
|
Monochrome + green filter
This simulation adds a green filter to the standard Monochrome simulation. Green filters are not used as often as yellow and red filters, but they are extremely helpful when taking pictures of
landscapes with leaves of slightly different hues. They lighten green foliage which often appears too dark when photographed without a filter. Green filters give a lighter, more natural look to certain landscapes.
|
|
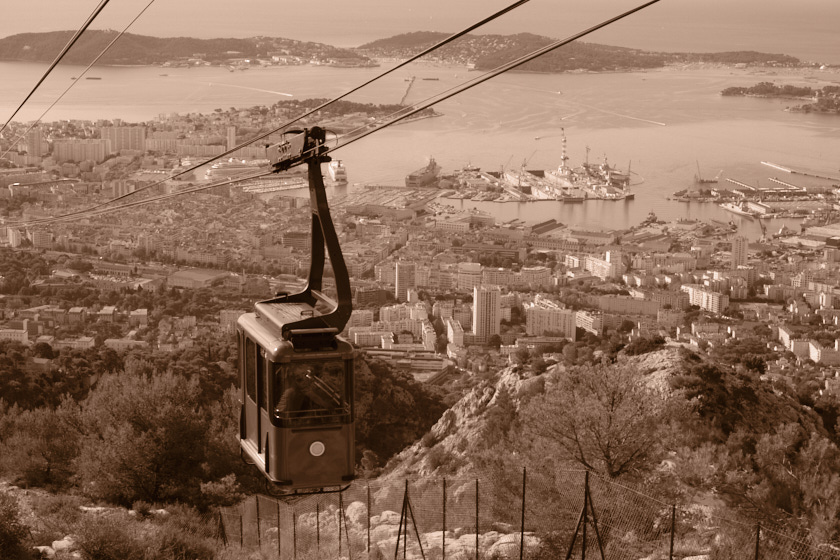
Sepia
Strictly speaking, this is not a simulation at all but a black and white rendition with Sepia toning. I do not expect to use this simulation very often; I have played around with Sepia effects
in the past, but only in Silver Efex Pro 2 where the sepia effect as well as other aspects of the black and white image can be varied to a far greater extent. Still, it's nice to have the simulation available.
|
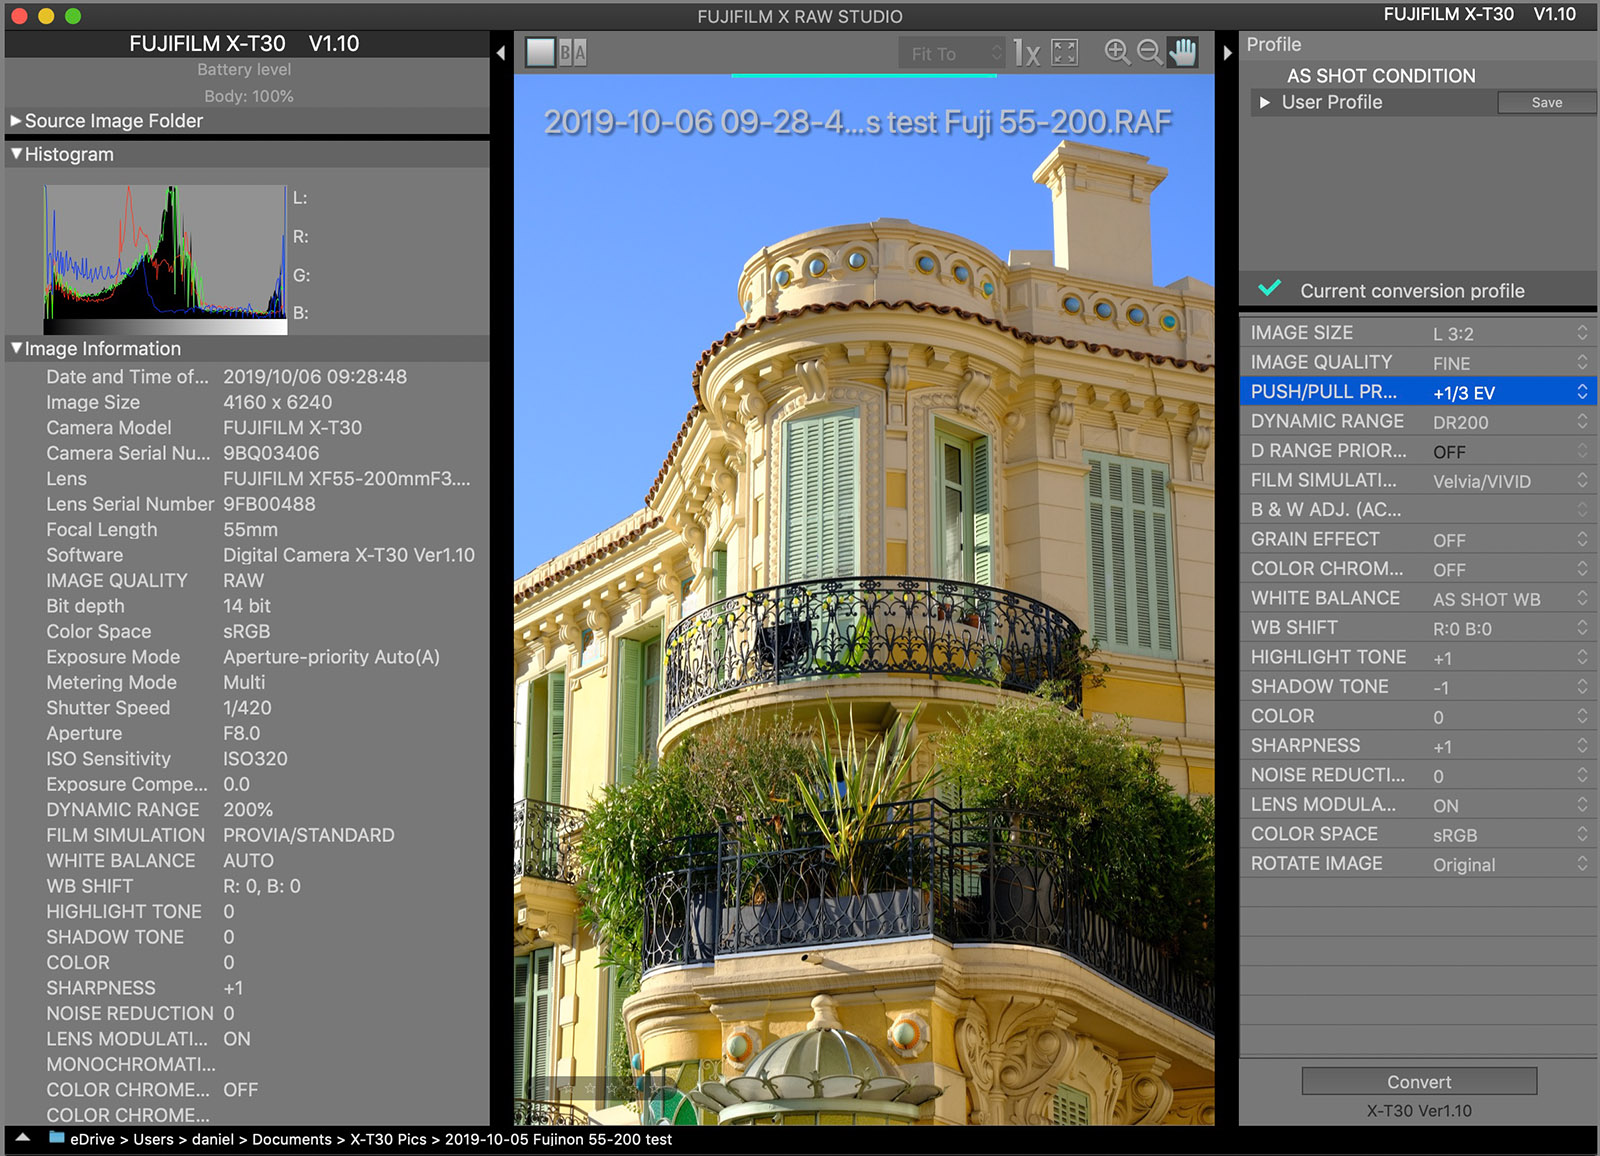
I mentioned above that there is an even better way to perform the raw to JPEG conversion, and that is by using the camera itself. The raw images are first transferred to the computer by means of a USB cable;
the Fujifilm X Raw Studio software is then launched on the computer and a previously uploaded raw file is selected.
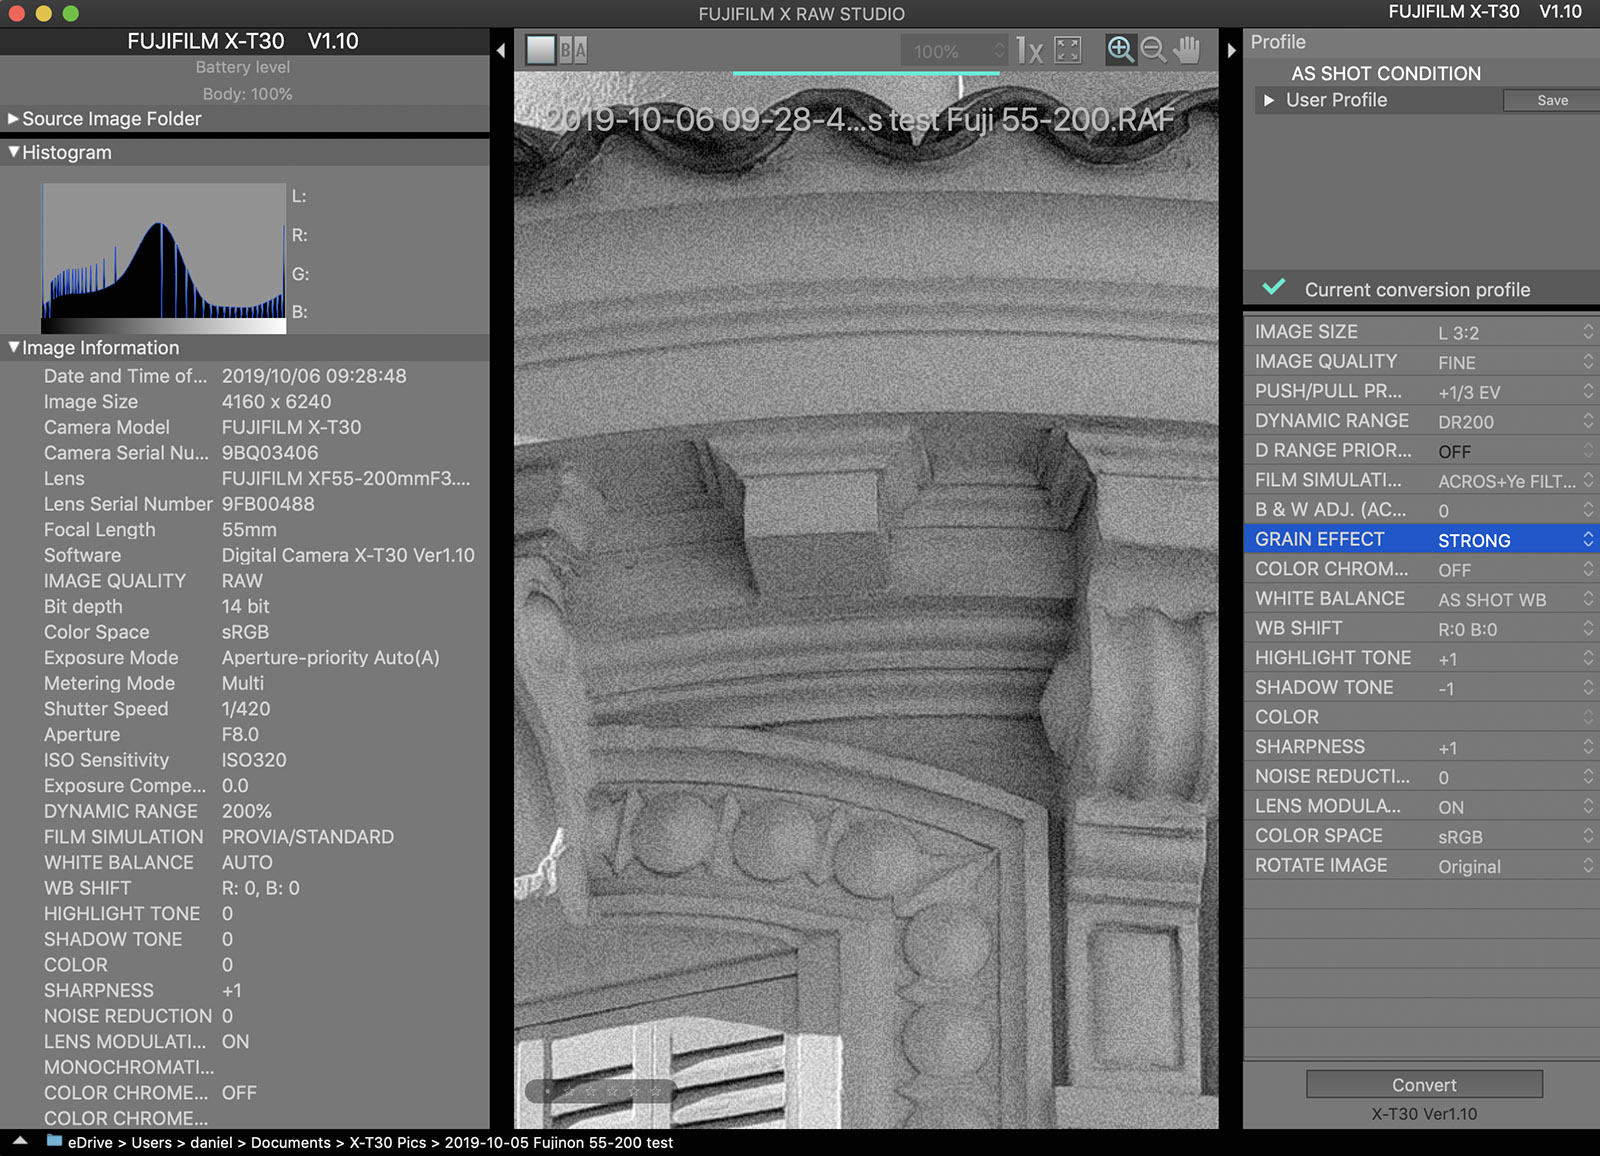
The software allows changing every single parameter that can be modified in camera. Once that is done, the raw file is sent to the camera for conversion along with the selected parameters. The JPEG image is then sent
from the camera back to the computer. Such JPEG files are absolutely identical to those that may have been created at the time the photo was taken. The following image shows the main window of the software; on the right side
are all the conversion parameters that may be modified. Click the image to see a larger, easier-to-read version.
|
Here is the same image, this time with an Acros + yellow filter simulation and strong grain option selected. Rather than display the entire image, magnification has been set to 100%. Using the camera for raw
conversions in this fashion is truly ingenious. One caveat: the release of the second version of macOS Catalina (10.15.2) broke the communication between camera and Mac. The macOS 10.15.3 update released on January 31 fixed
the problem, but as I worked on this page a couple of weeks before that date, these two screen shots were made by booting into a partition with an earlier version of macOS.
|
Note that any of these simulations may be further tweaked to produce slightly different looks, even simulate additional films. This is done by modifying the conversion parameters shown on the right side of
the screen shot above (these custom settings may also be named and stored in camera for use while shooting). Salt Lake City-based photographer Ritchie Roesch calls these tweaks "recipes"; in his highly informative
blog Fuji X Weekly, he has published a large number of such recipes. I encourage you to take a look at Richie's work; even if you are not a Fujifilm X shooter
(or not yet!) you will see how the Fujifilm X system allows you to creatively explore the look of out-of-camera JPEGs. For the purpose of this page, though, I've limited myself to the pre-programmed Fujifilm simulations.
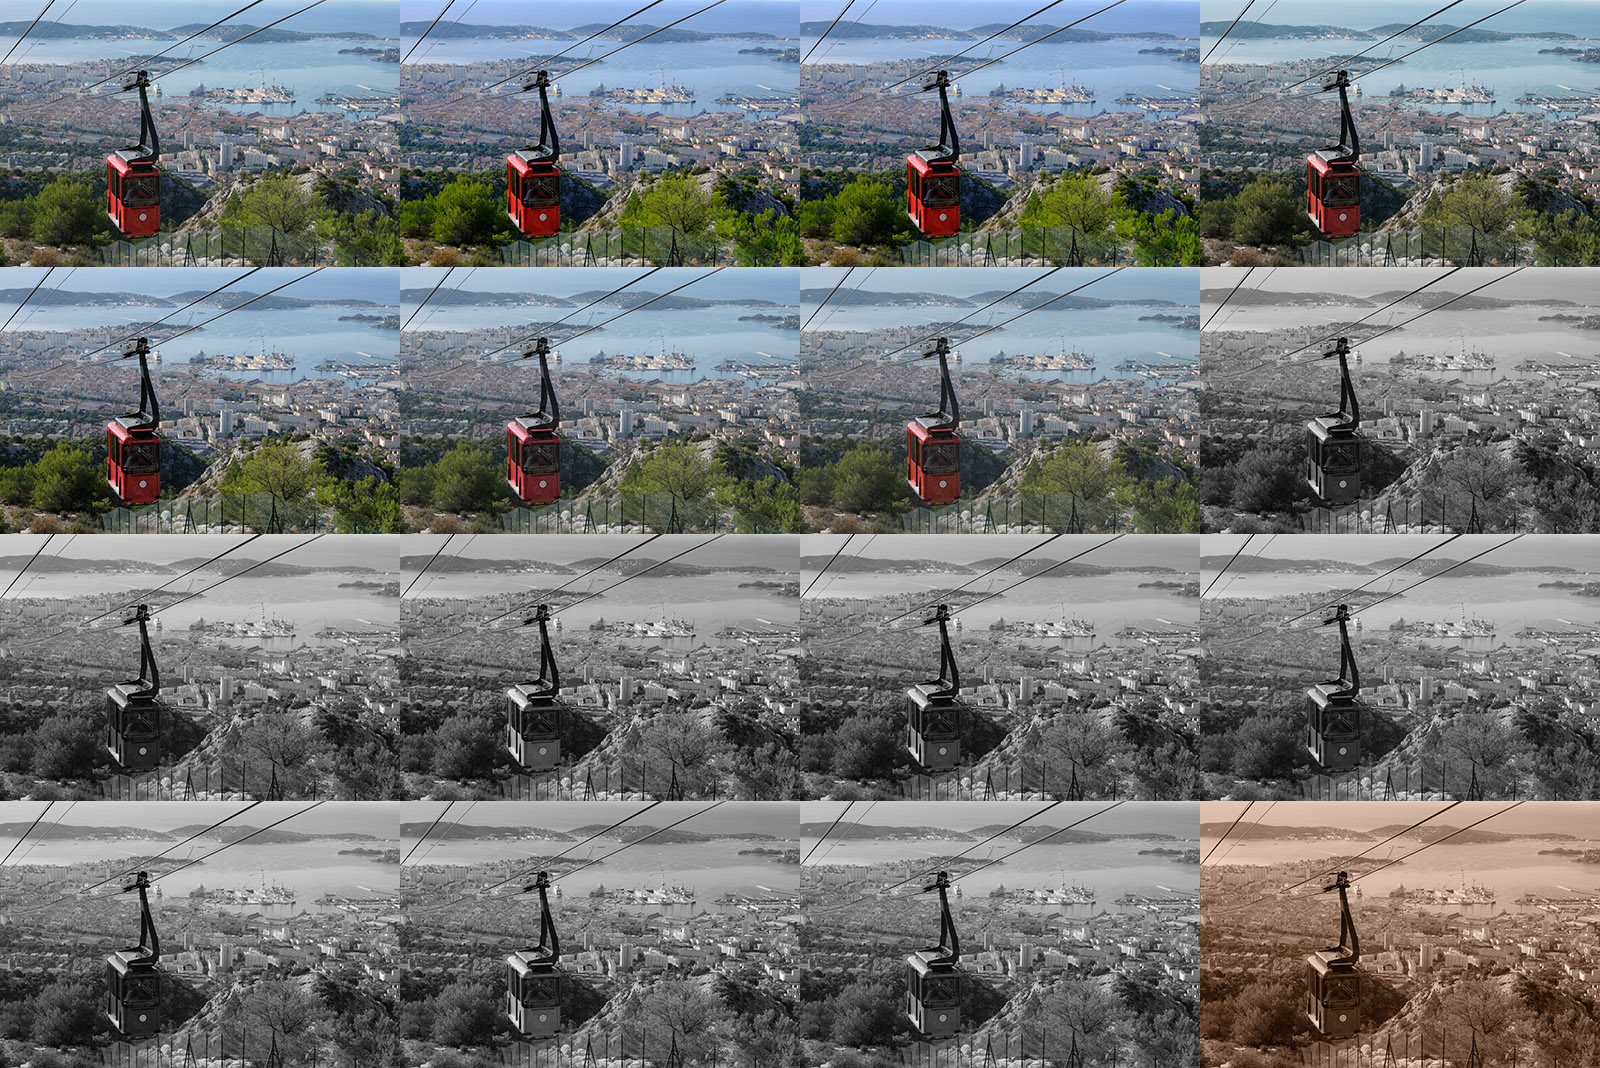
Here is an image that shows the thumbnails of all 16 simulations available on the X-T30. Hover over any of the small images with the mouse pointer and a tooltip will show the name of the simulation. Clicking
on that image will download a zip file with the full-size (6,240 x 4,160) version of the simulation. This is the best way to compare the different simulations. Again, these are out-of-camera JPEG files; other than choosing
the simulation, no adjustments of any kind were made.
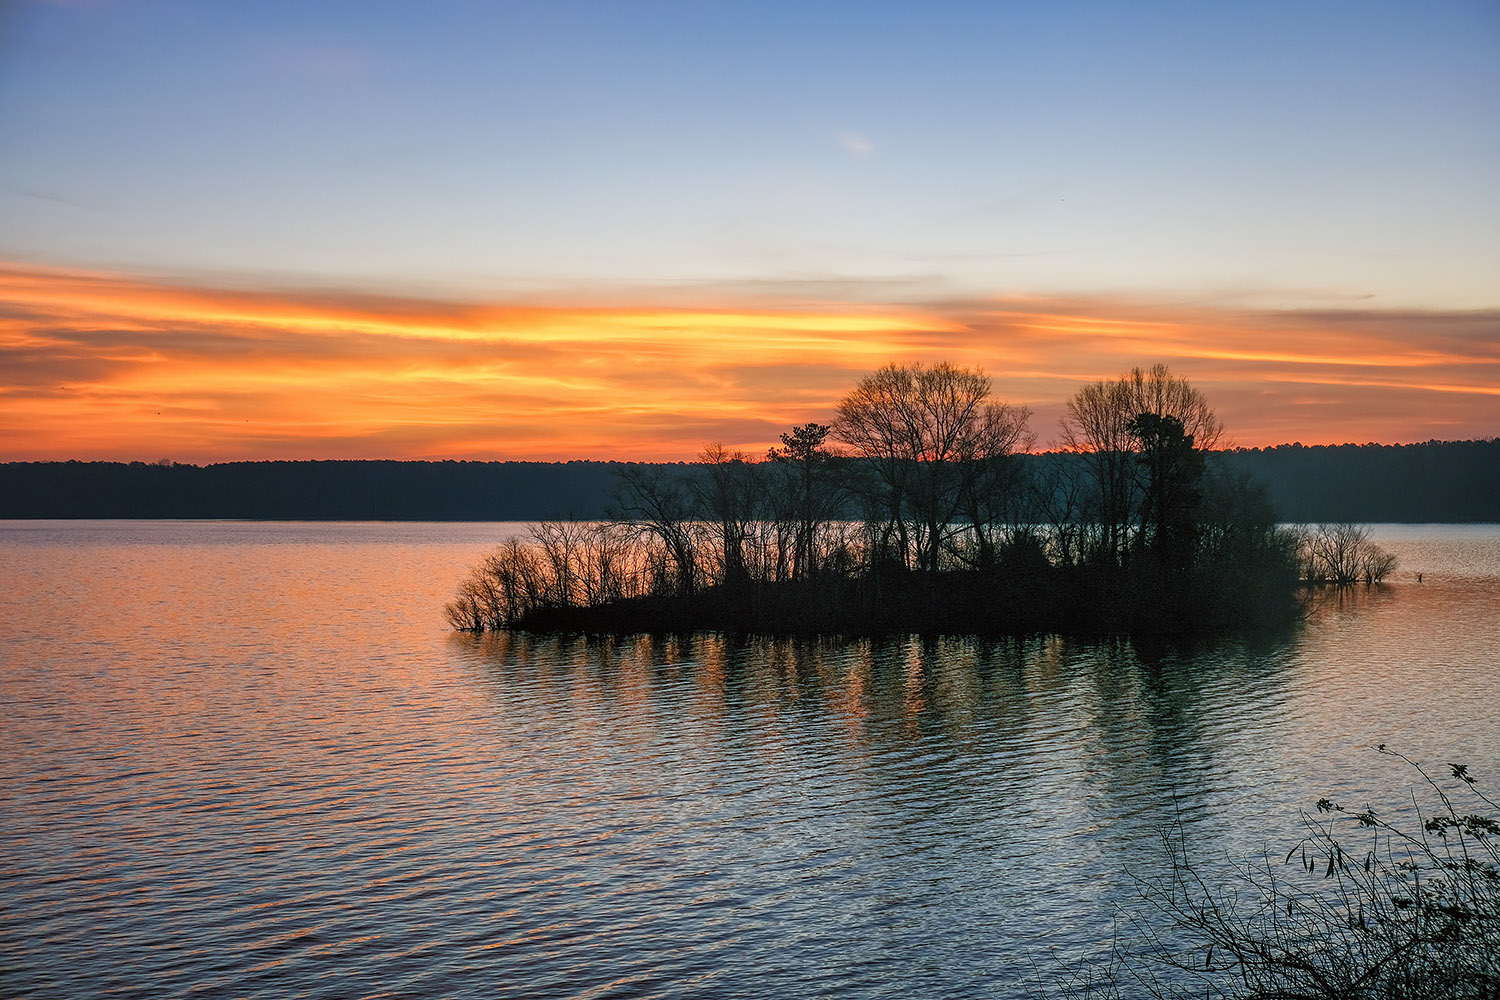
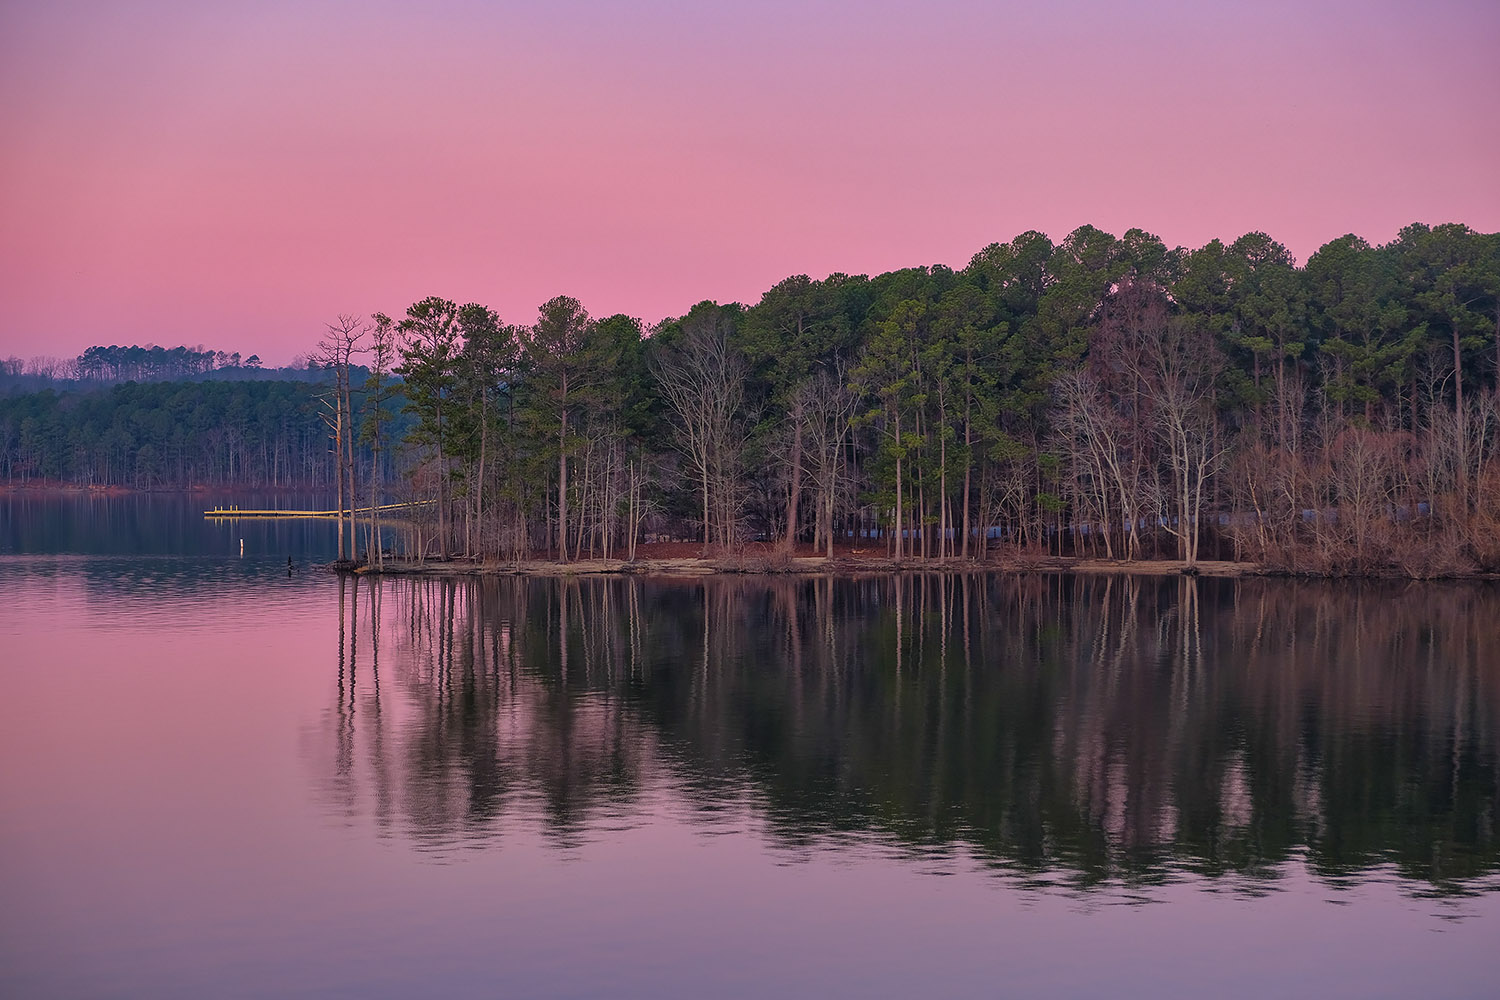
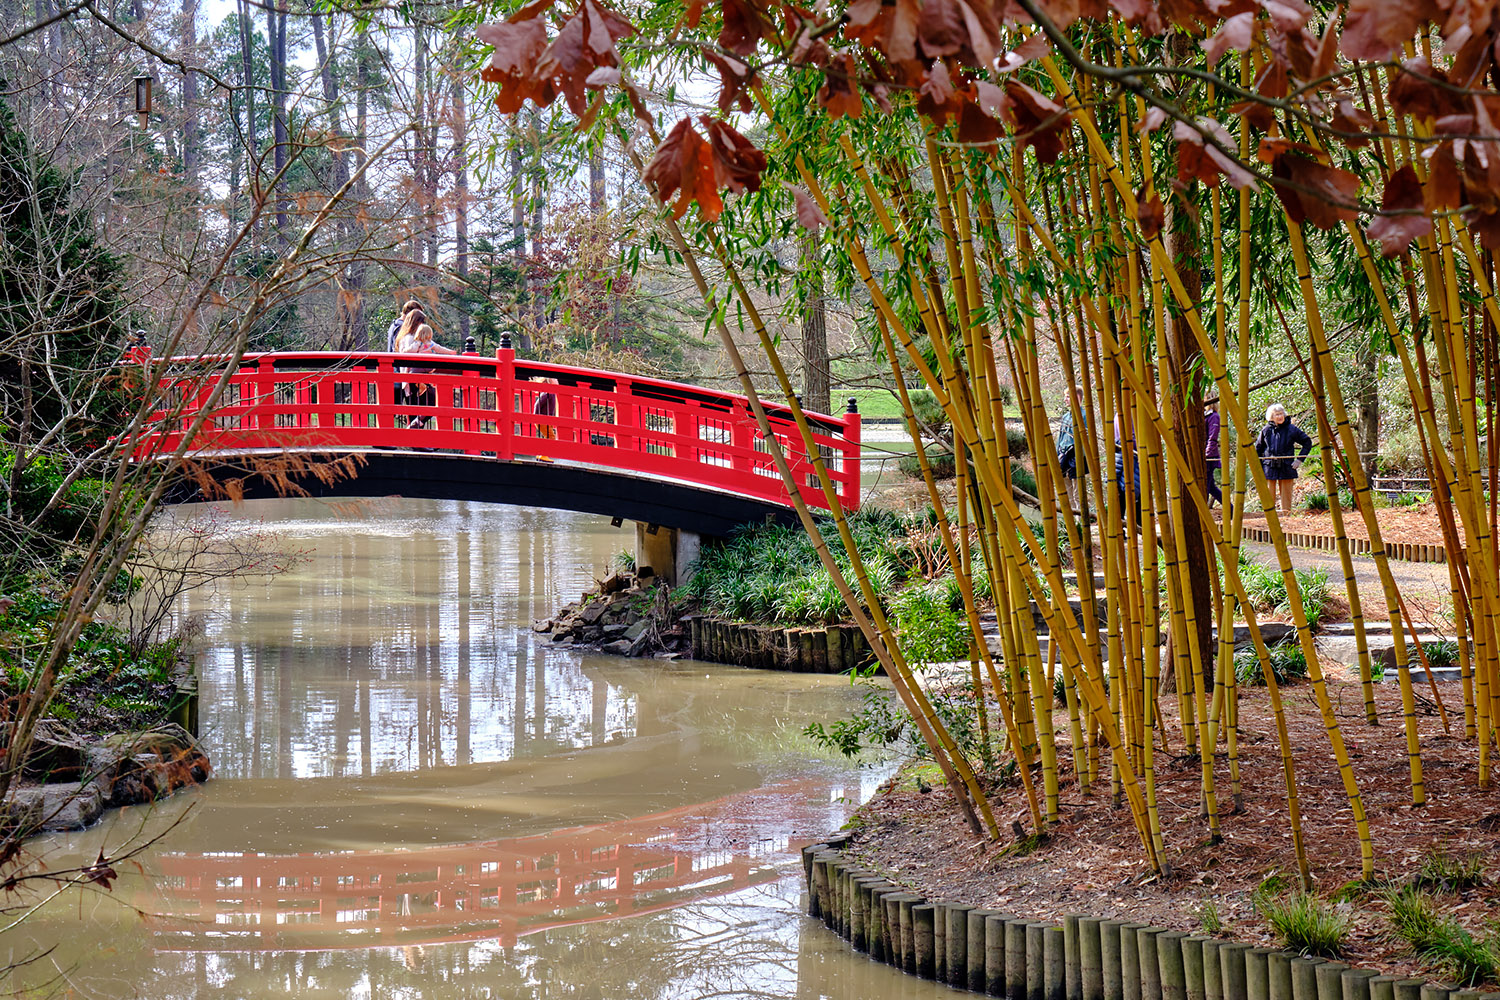
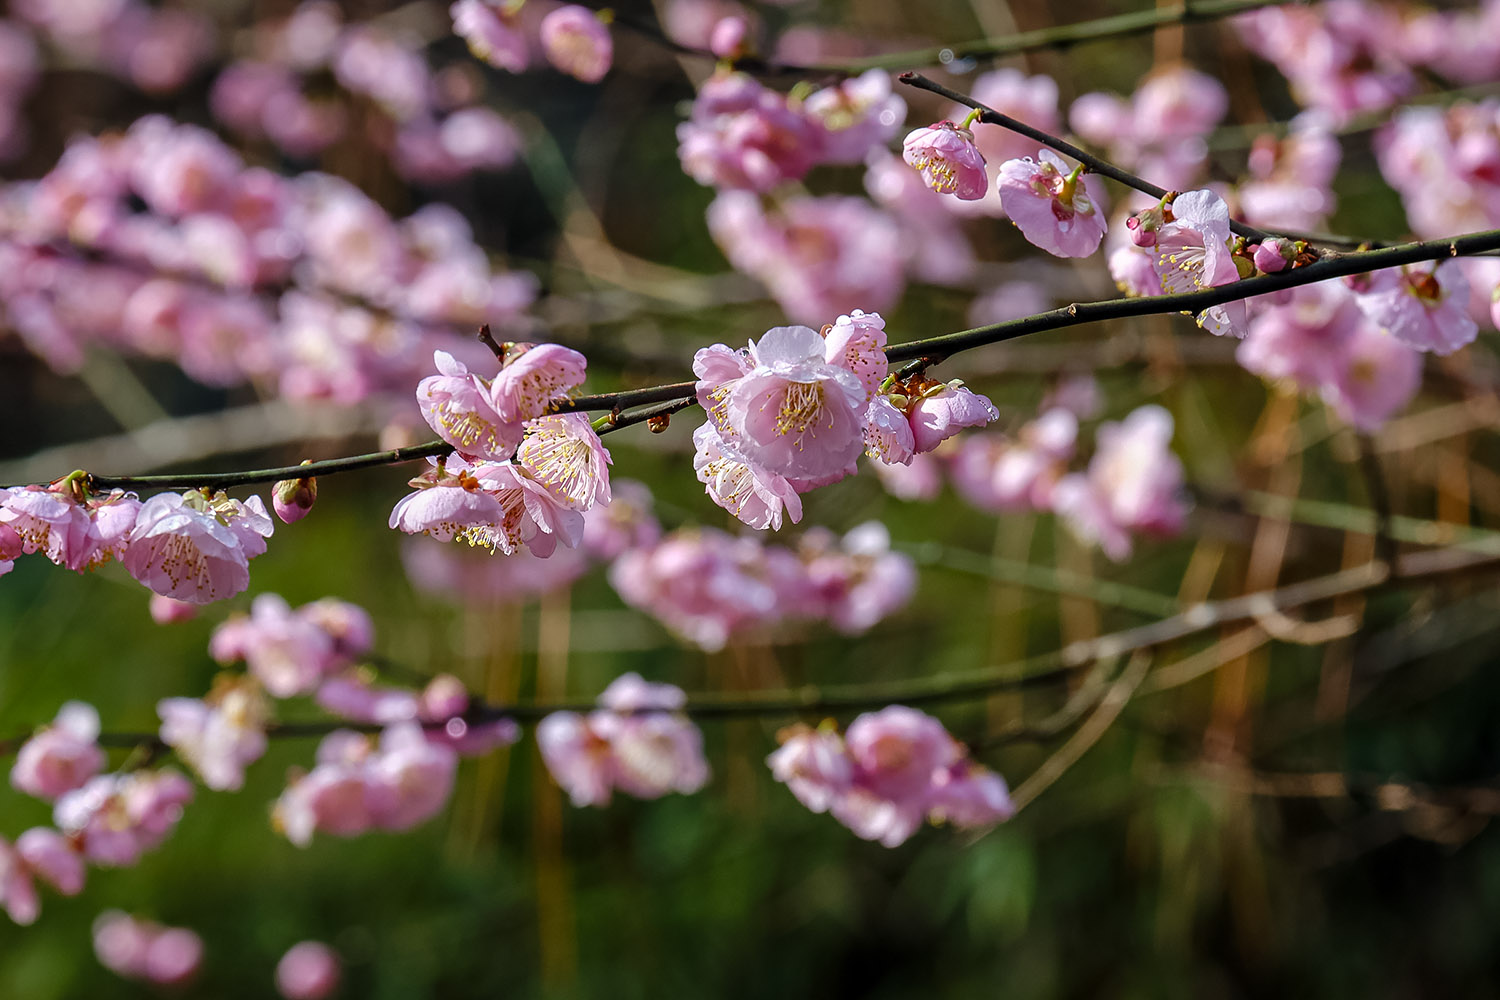
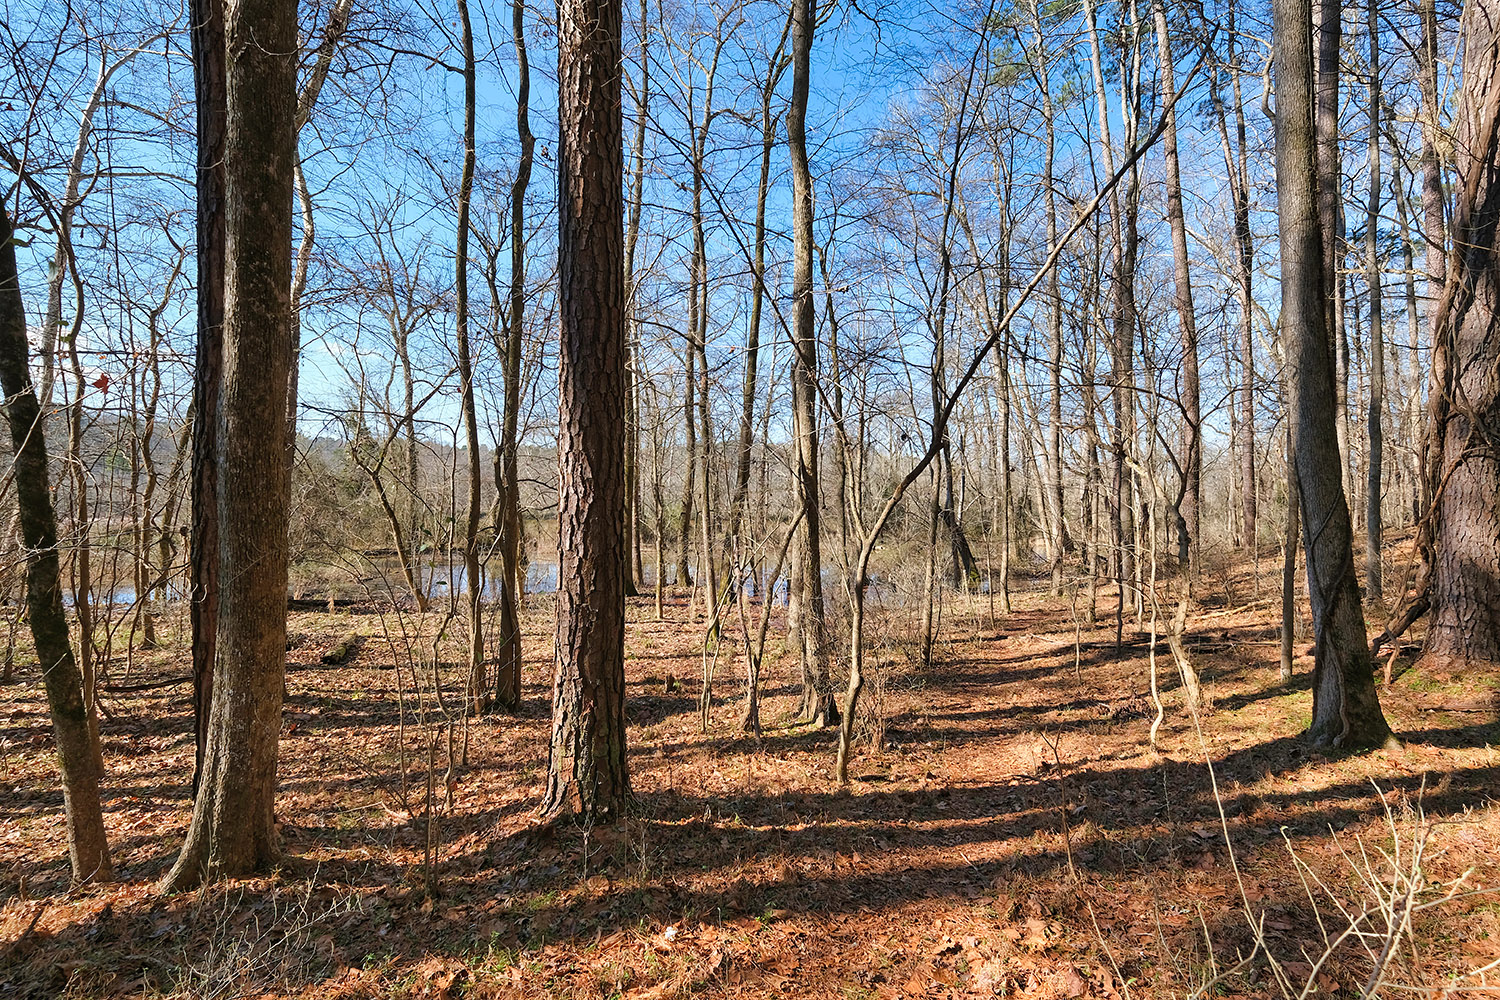
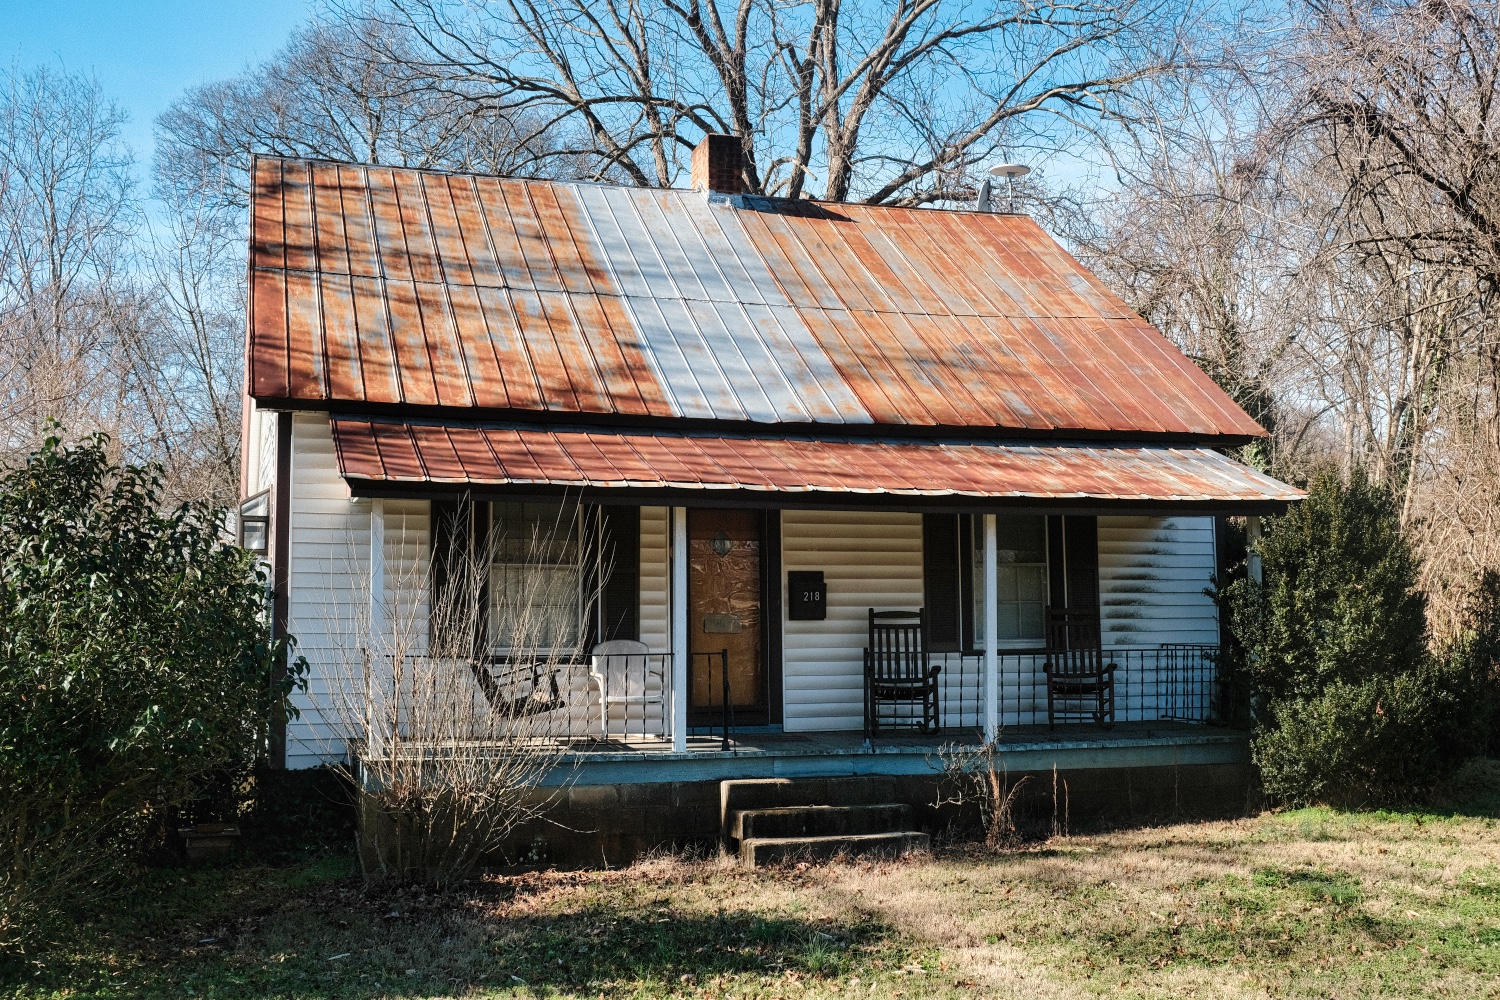
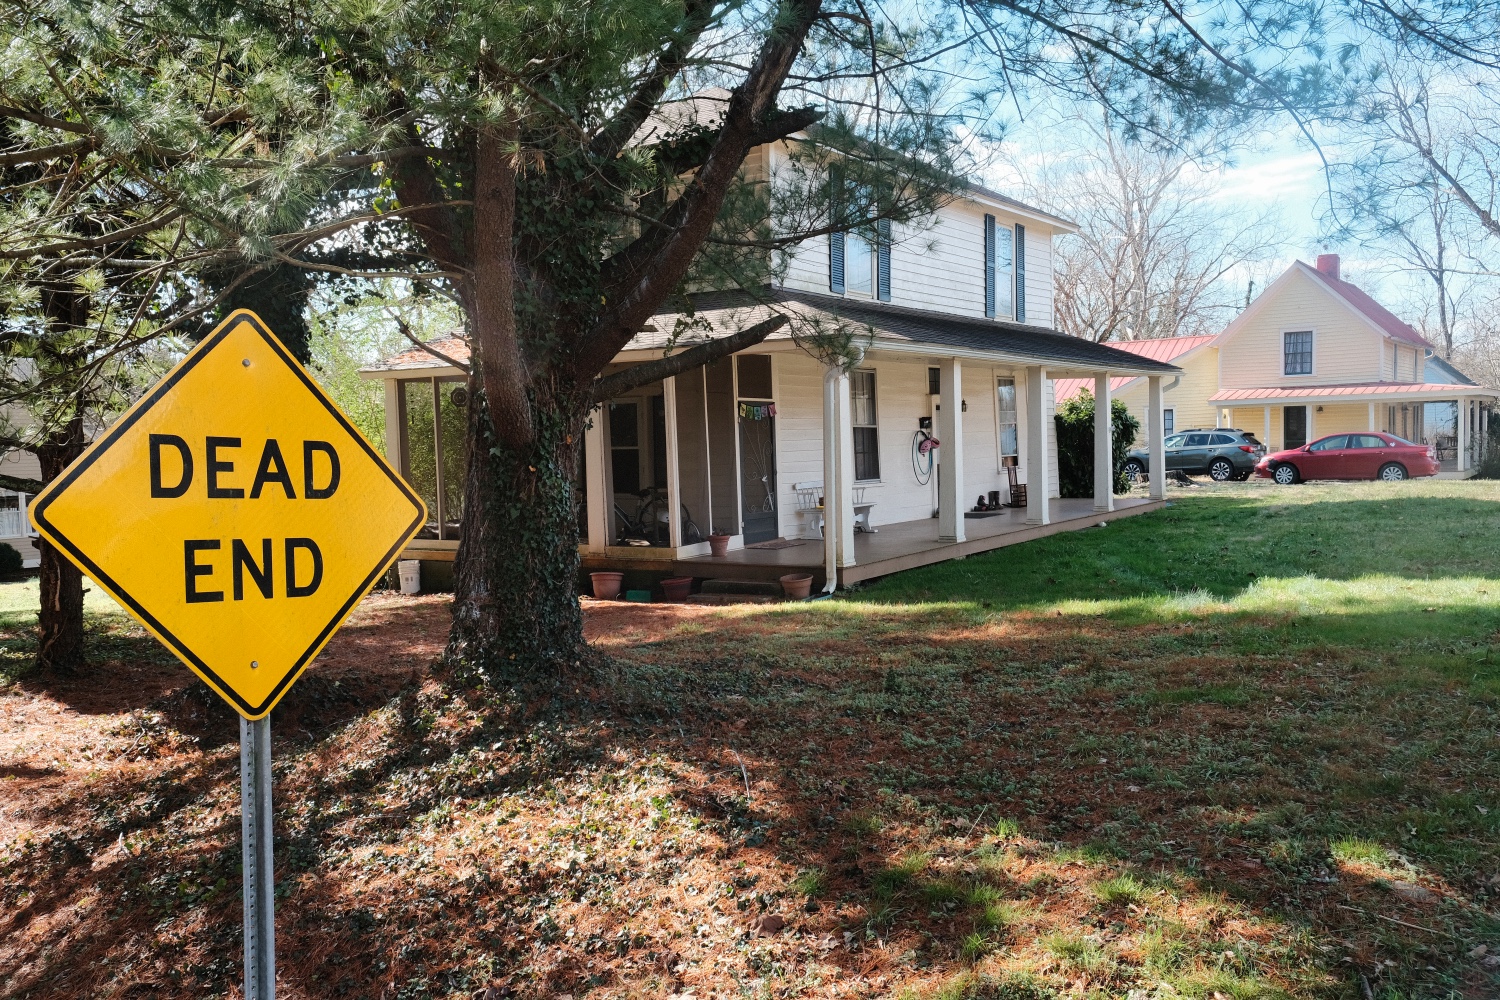
To conclude, here are a few photos taken as JPEGs; contrary to the JPEG images above, these have been minimally post-processed, usually to simply adjust shadow and highlight tones or tweak other basic
parameters. No more than a minute or so was spent on each picture; this shows what a time-saver shooting in JPEG with a Fujifilm X-Series camera can be. The captions list the camera, the film simulation, the focal length
(expressed as a 35mm full-frame equivalent), the ISO, the shutter speed, the aperture, and the exposure compensation. The Jordan Lake and Hillsborough photos were taken with the FUJINON XF 18-55mm F2.8-4 R LM OIS, the
Duke Garden shots with the FUJINON XF 55-200mm F3.5-4.8 R LM OIS, and the Haw River pictures with the FUJINON XF 10-24mm F4 R OIS lens.
Click on any image below to see a larger (2400 x 1600 pixel) version!
Morning light at Jordan Lake |
Fujifilm X-T30, Provia, 47mm, ISO 320, 1/140, ƒ/5.6, exp. comp. -⅔ |
Morning light at Jordan Lake |
Fujifilm X-T30, Provia, 69mm, ISO 500, 1/70, ƒ/4.0, exp. comp. 0 |
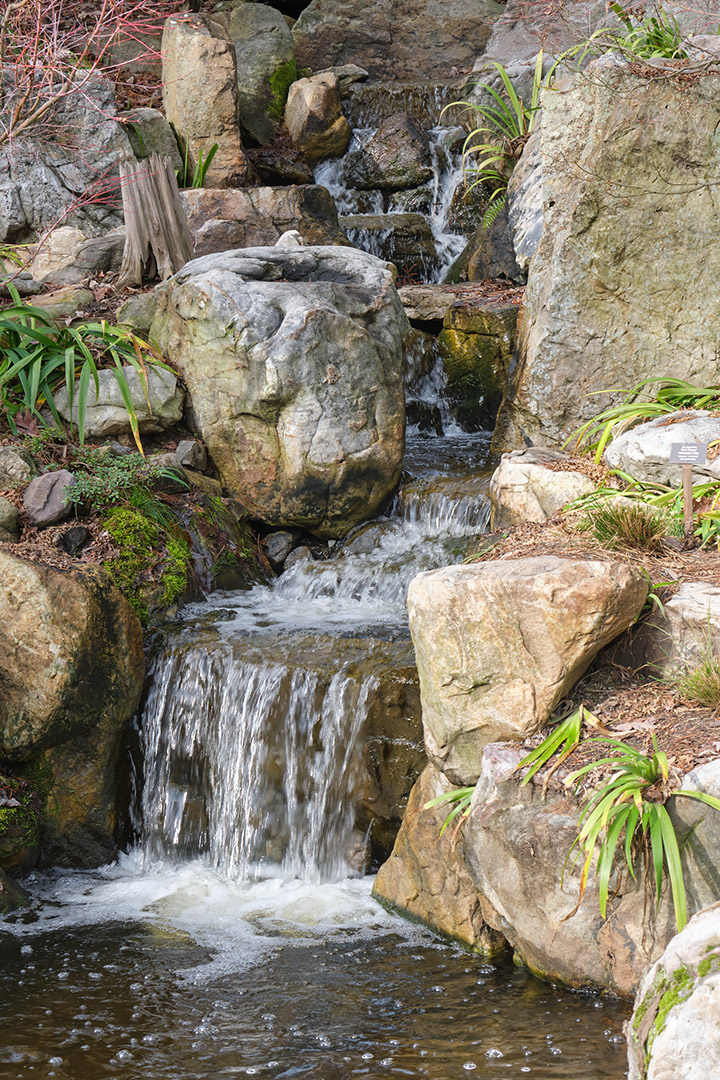
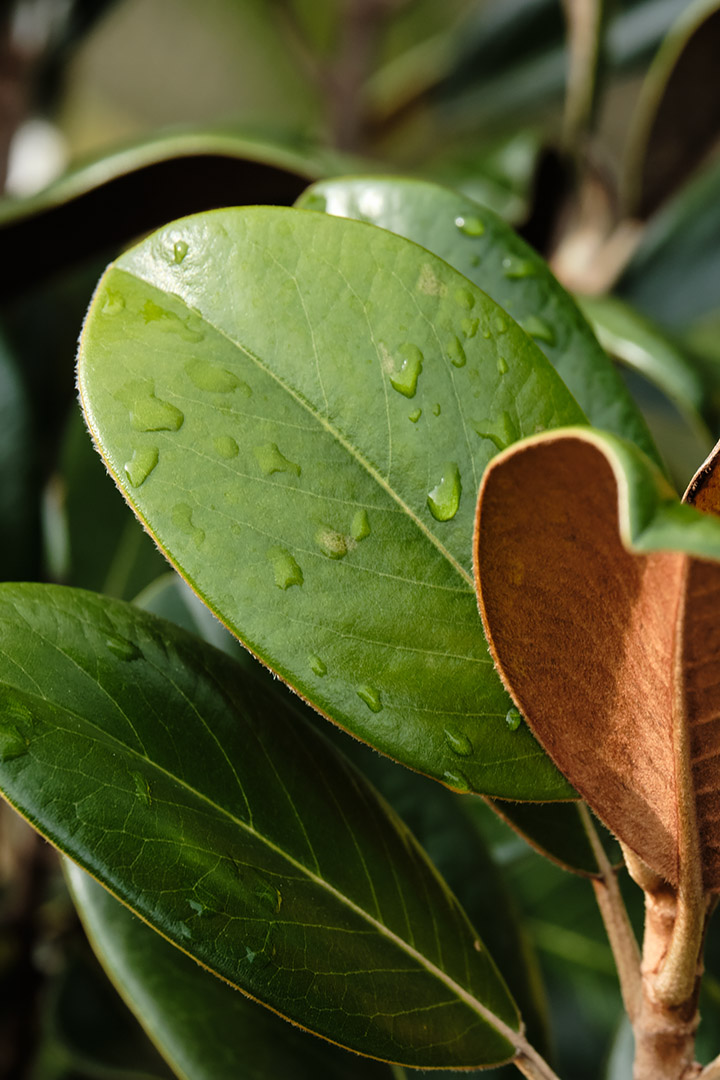
Sarah Duke Memorial Gardens |
Fujifilm X-T30, Velvia, 83mm, ISO 320, 1/80, ƒ/8.0, exp. comp. 0 |
Sarah Duke Memorial Gardens |
Fujifilm X-T30, Astia, 212mm, ISO 800, 1/210, ƒ/9.0, exp. comp. 0 |
Duke Gardens • X-T30, Provia, 83mm, ISO 320, 1/90, ƒ/8 |
Duke Gardens • X-T30, Neg. HI, 272mm, ISO 800, 1/280, ƒ/9 |
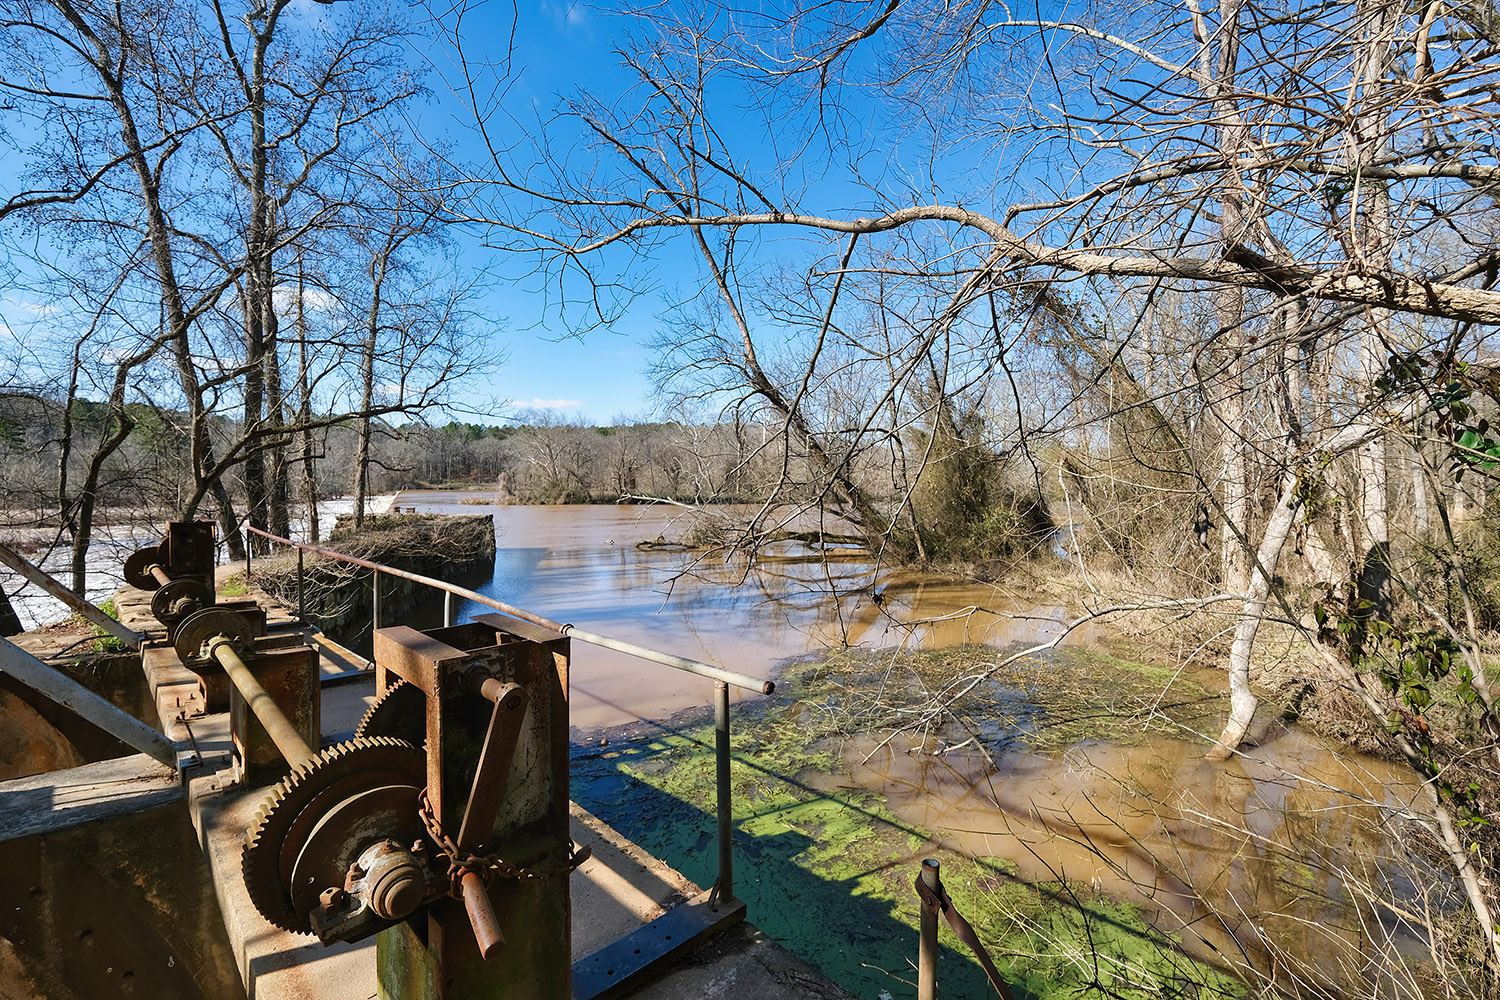
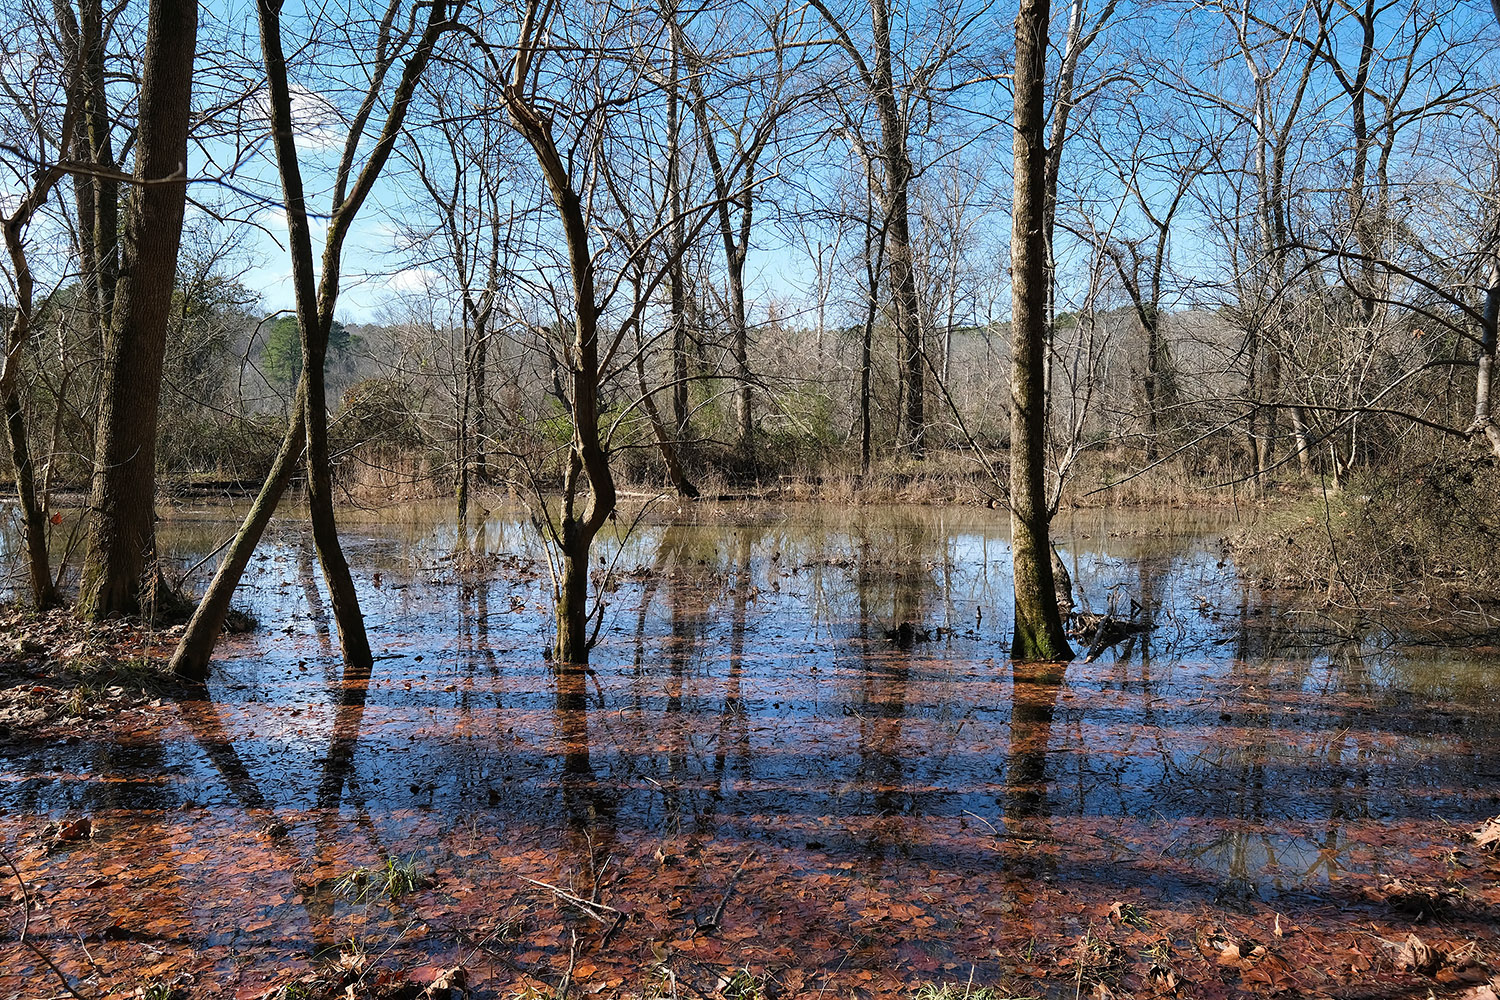
By the Haw River |
Fujifilm X-T30, Provia, 15mm, ISO 160, 1/350, ƒ/5.6, exp. comp. 0 |
By the Haw River |
Fujifilm X-T30, Provia, 27mm, ISO 160, 1/240, ƒ/6.4, exp. comp. 0 |
By the Haw River |
Fujifilm X-T30, Provia, 15mm, ISO 160, 1/140, ƒ/7.1, exp. comp. 0 |
Hillsborough House |
Fujifilm X-T30, Classic Chrome, 38mm, ISO 320, 1/180, ƒ/8, exp. comp. +⅓ |
Hillsborough Dead End |
Fujifilm X-T30, Classic Chrome, 29mm, ISO 320, 1/80, ƒ/8, exp. comp. +⅓ |
Home |
Site Info |
Family |
The Area |
Trips |
France |
Work |
Rants |
Photography |
Odds & Ends
This page was last modified on February 1, 2020
Send feedback about this page to feedback@kiechle.com
https://www.kiechle.com/photography/filmsims/index.htm
(optimized for Retina display)
All contents © 1999-2026 The Kiechles


